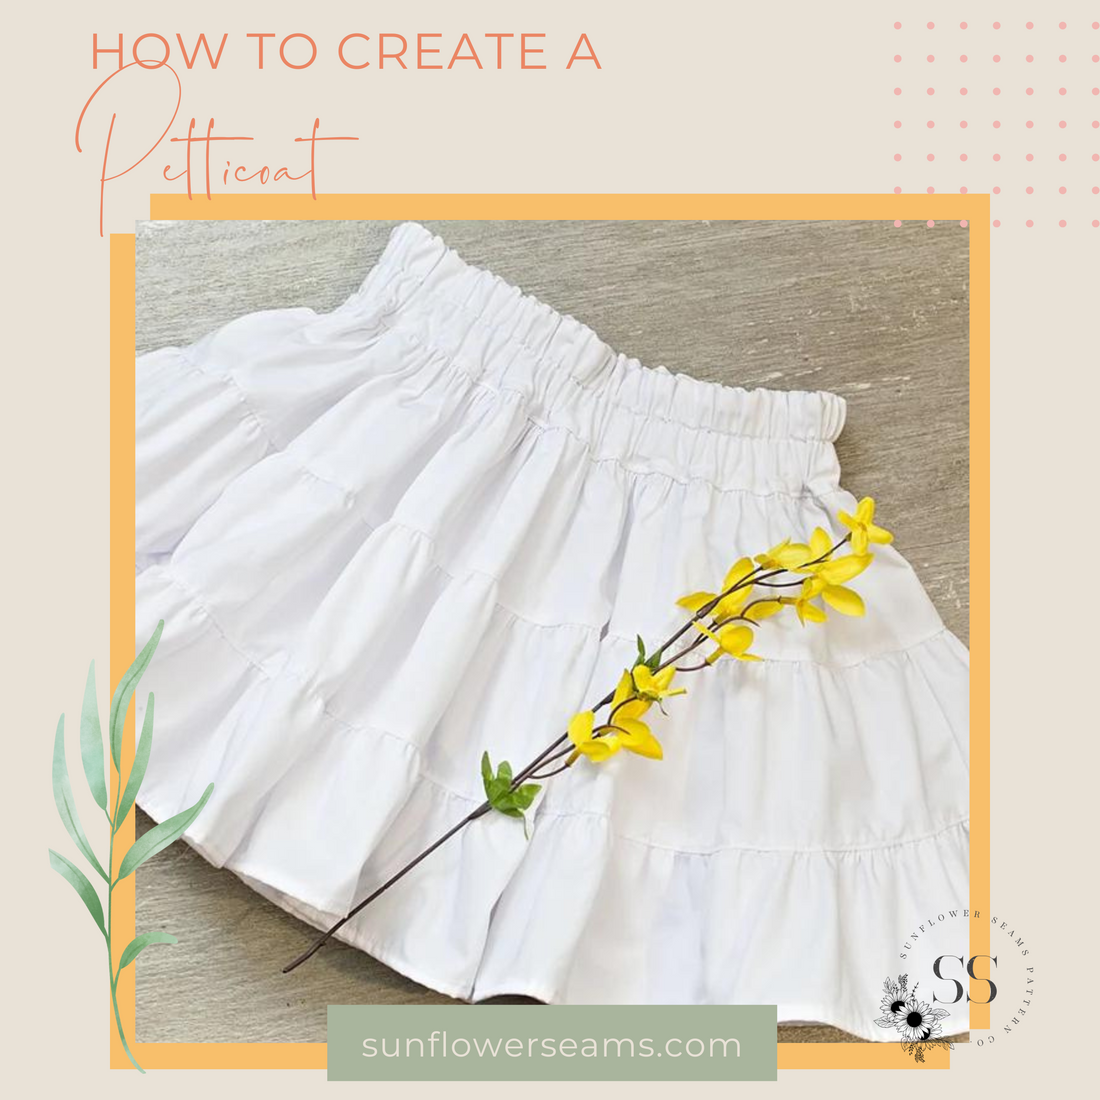
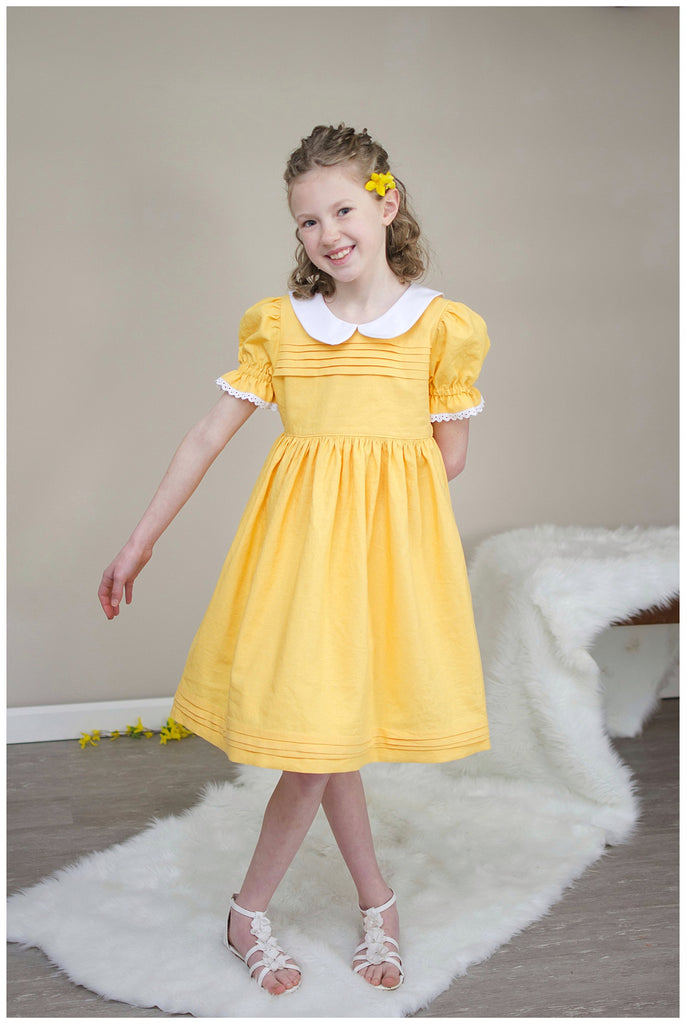
Hi again! It’s me, Tamar from Tamar Hope Designs! In my last post, I brought you a suspender and bowtie tutorial for the little guys in your life. Now, I have a special post for the girls in your life! I’m excited to show you how to use Bramble to make a petticoat. I love the look of a little (or a lot) of extra lift to the gorgeous full skirts that you love from Sunflower Seams! For this tutorial, I used a single layered petticoat to give a little lift to the Yarrow dress skirt.
It’s really pretty simple, so sit back and get ready to gather your brains out. Ha ha. We can use the petticoat instructions of Bramble as our guide. Then, instead of two tiers, we are going to cut and sew three. And instead of a front and back waistband, we will cut two back waistbands.
To start we need to do a little math. A petticoat should be 2 - 5 inches shorter than the dress. Measure your model and determine how long you want the petticoat to be. Keep in mind that if you sew a two or three layered petticoat, the petticoat will appear to be approximately 1 inch shorter for each layer that is added.
To figure out how long to make each piece, take the length that you want your skirt to be. Divide it by 3 and add two seam allowances to each piece.
For my size 10 petticoat, I determined that it should be 12 inches long below the waistband. I divided 12 by 3 to get 4 inches. Then I added ¾ inch to account for two seam allowances. So my pieces were 4.75 x the width on the cut chart for the petticoat pieces. You will need 2 pieces for the first tier, 4 pieces for the second tier, and 8 pieces for the third tier.

To summarize, cut:
14 tier pieces
2 back waistband pieces
2 lengths of elastic (2 inches shorter than your model’s waist measurement)
Start by assembling the waistband following steps 27-29.
In step 31, sew around the entire waistband, leaving a 1” gap. Thread the elastic through the casing. Sew the ends of the elastic together overlapping ½”. Stitch the opening shut.

For the skirt, simply follow steps 32-37 twice. First, hem the bottom tier (the 8 piece loop). Then gather and attach the bottom tier to the middle tier (4 piece loop). Next gather and attach the middle tier to the top tier (2 piece loop). If you want lots of poof, make a second or even a third layer following the same steps.
If you make multiple layers, baste the layers together as in step 40.
If you are making a single layer, continue with step 41.
In step 42 leave a 1" gap, thread a second length of elastic through the casing, sew the elastic ends together overlapping ½".

Stitch the opening shut.
Finish with Step 46.

And you’re done!
Now, go add a little volume to all your little girl’s dresses!

Fabric note: I used a stiff cotton poplin. The stiffer your fabric, the more lift it will provide. Also, of course, the more layers you choose to sew, the more lift your petticoat will offer.