

Adding hand embroidery to a T-shirt or other items made with knit fabric is easy to do with the right preparation. The biggest challenge when embroidering on knit T-shirt fabric is that the design can become distorted when the fabric stretches or if stitches pull too tight. This is where interfacing can help and today I'm going to walk you through how to use it!
Types of Stabilizer
While stabilizer can be used in most embroidery, with clothing it's best to use removable stabilizer instead of the type that's designed to stay in place (also called "leave-in"). This keeps the back of the stitching feeling soft and not scratchy on the skin.
There are several types of stabilizer designed for embroidering on stretchy fabrics. Some are temporary, while others are permanent. Some tear away, and some dissolve in water. Generally, any of these will work, so you can use what is easy to find and what works best for you.
With any of the stabilizers, the goal is to prevent the fabric from stretching, which would distort the embroidery once it's removed from the hoop. To accomplish this, the piece of stabilizer should always be larger than the embroidery design and hoop you are using.
Depending on the type of stabilizer material you are using, it's often a good idea to trace or transfer your pattern* on the T-shirt before you add the stabilizer.
Follow this guide and you'll be stitching tees in no time.
Supplies
- Stabilizer
- Embroidery hoop
- Needle (round end preferred)
- Iron
- Embroidery floss
Instructions


Stabilize Fabric With Press and Stick Material
Press and stick stabilizer adheres * to the surface of the fabric and can be used on either the front or the back of the T-shirt.
One type has water-soluble stabilizer with a peel-off backing, allowing you to place it on the fabric like a sticker. Another type can be ironed-on to the shirt and then removed later by tearing it away.
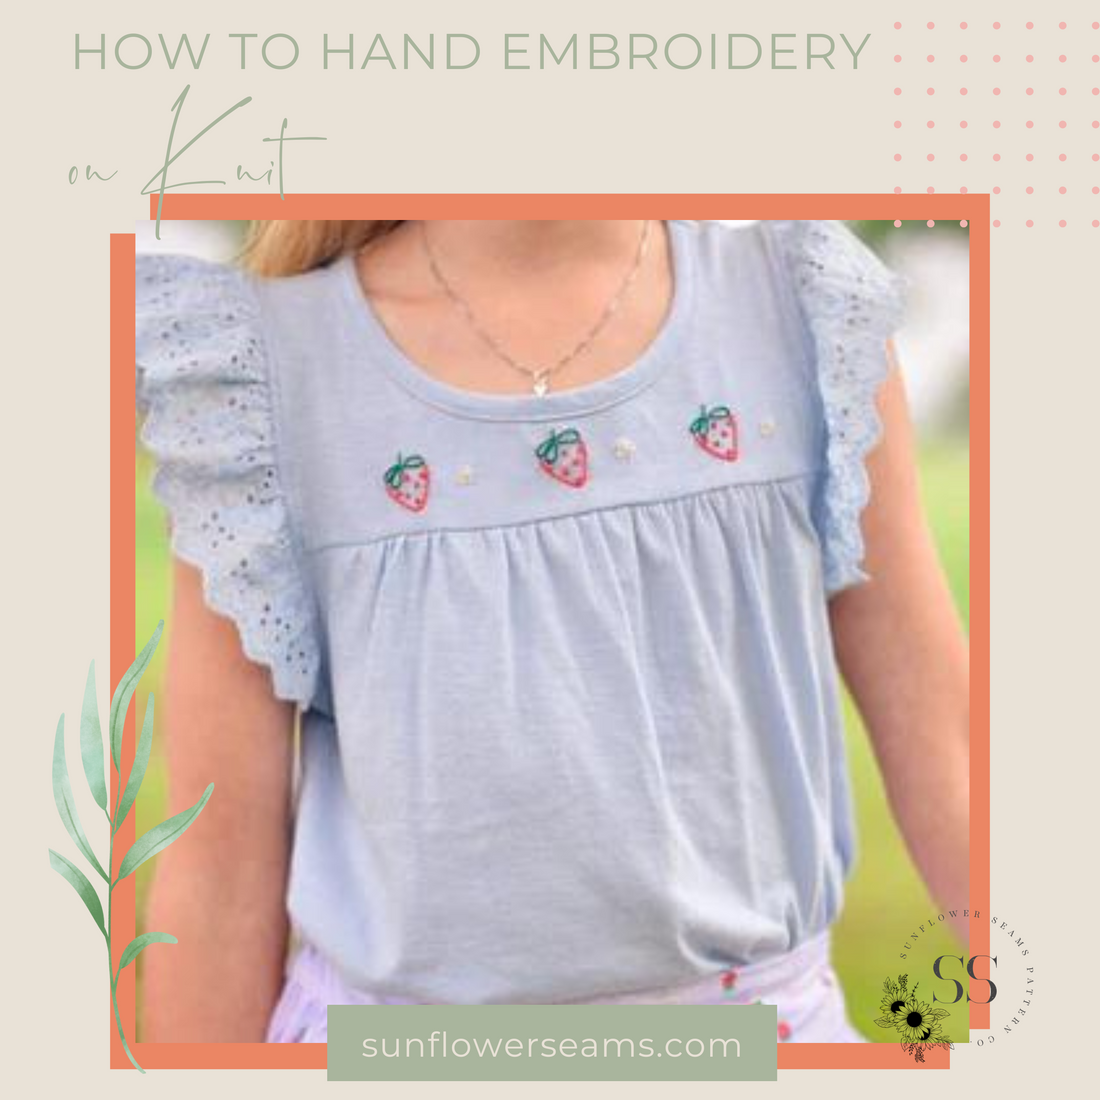
Removable stabilizer that is adhered to the fabric is useful because you can often print, trace or transfer your pattern* directly onto the stabilizer. The pattern I used for this project is Strawberries and Citrus.


Hoop the Fabric Without Stretching
Unlike hooping woven fabrics, stretchy materials (even those with stabilizer) should start with a slightly looser outer hoop.
Place the inner hoop inside the shirt under the area you are stitching. Press the outer hoop over the fabric and inner hoop with even pressure, avoiding stretching the fabric.
You'll be able to tell if the fabric has stretched or is misshapen at all by comparing it to the rest of the T-shirt. If it is stretched, try re-hooping it.


How to Stitch on a T-Shirt
Use a ball-point or round-end needle* to avoid pulling and snagging the knit material of a T-shirt. Tapestry or counted-cross stitch needles work well. These needles are more likely to find their way through the knit structure of the fabric, without piercing the threads.
As with any embroidery, it's important to start and end your T-shirt embroidery well, especially because you don't want any stitching coming undone when it's washed. Tying knots can result in pulling the stretchy fabric and distorting the design. Securely weaving in the ends will keep your embroidery looking beautiful.
Embroider as you usually would, but be careful to not pull the stitches too tight. The stabilizer will help prevent this, but you shouldn't rely on it solely.


Remove the Stabilizer
If you're using a stabilizer that you basted to the tee, remove the basting stitches by snipping the thread and pulling out the stitches.
For tear-away stabilizers, tear the material along around the edges, right up to the embroidery. Then, tear and remove the pieces from inside the embroidered design, being careful not to disrupt the stitches.
When using water-soluble stabilizer, cut away the excess stabilizer from the edges before soaking the embroidery in warm water. Press the tee between two towels to remove excess water and hang to dry.
Give the T-Shirt a Great Finish
Gently iron your finished embroidery* from the backside to smooth out any wrinkles and remove hoop markings.
Your embroidered T-shirt is ready to wear.


*Sunflower Seams is an Amazon Associate site and earn from qualifying purchases on the products I’ve linked above. The helpful products selected are the same or similar to materials used to make the project(s) in this blog post or related items we think you may enjoy.