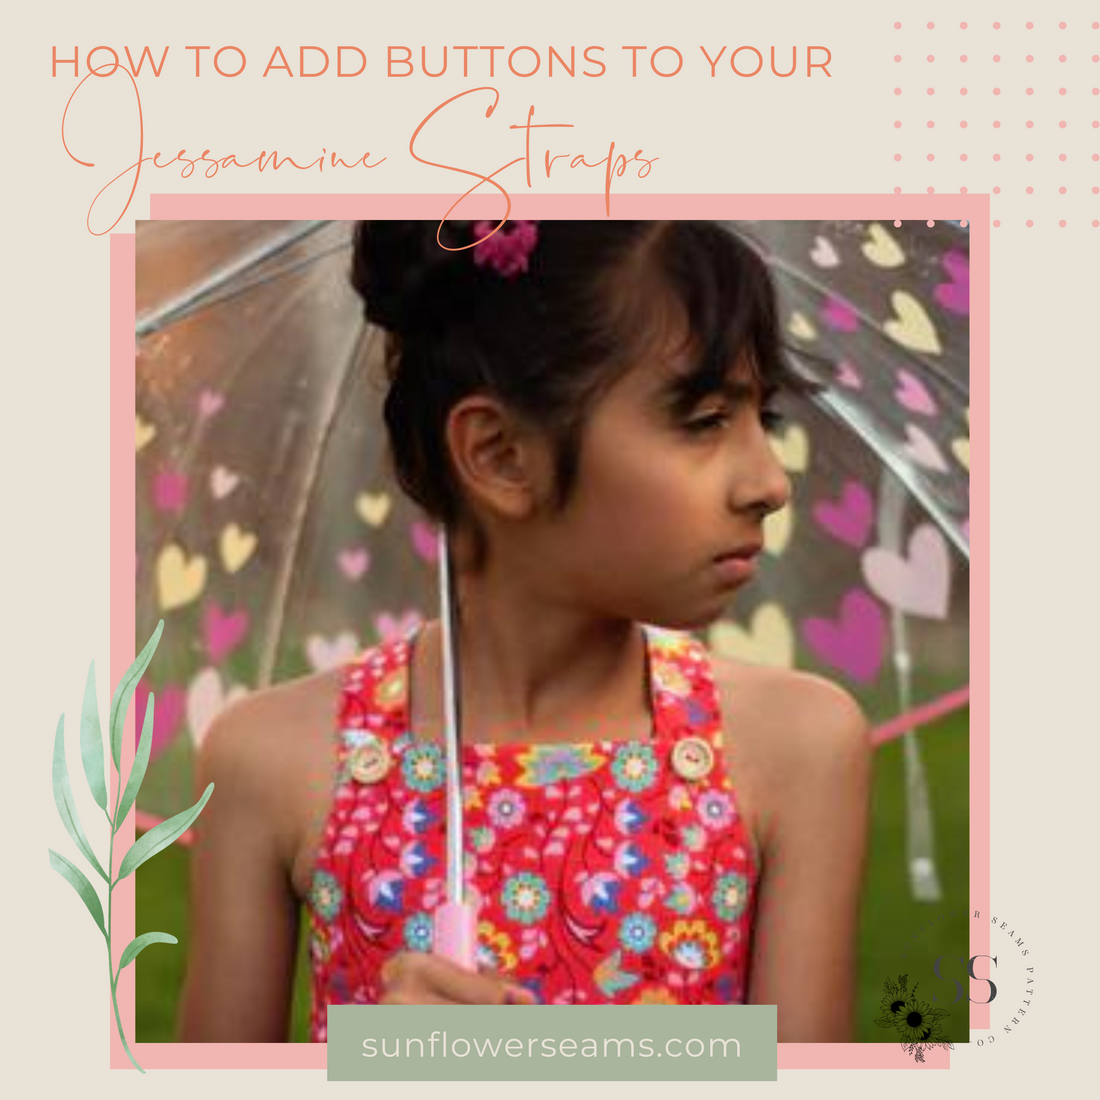
Hello everyone, I'm Axa! Today I’m going to show you how to add buttons to the Jessamine Romper! So let’s dive right in!


You will need:
1 inch strip of interfacing (the length of the front bodice)
2 Buttons
Jessamine pattern
Steps for Assembly
First, cut and assemble all pattern pieces as normal.
Before you begin cutting your fabric you will need to lengthen the straight bottom part of the front strap pattern piece by 1 inch. This will be the only pattern piece that will change.


When you get to step 1 instead of only sewing the long raw edge you will sew down the long raw edge and the short straight edge on both straps.


Follow the directions on the tutorial until you get to step 11.
You will skip step 11 and 12.
On Step 13 you should only have the front bodice main and front bodice lining right sides together.
Before sewing step 13 add a 1inch strip of interface on top of the wrong side of the front bodice. Now continue step 13.


Continue following directions on tutorial to finish bodice.
After completing step 22, measure ½ from the top side seam and ¼ inch from the top edge of each side of the bodice and add buttonholes.


On the front of the straps, sew buttons ⅜" from the bottom of each strap. For best results please try romper on the child to mark button placement.


Congratulations, you made the Jessamine Romper with buttons! I hope this hack was useful to you and thank you for trying it out with me!


