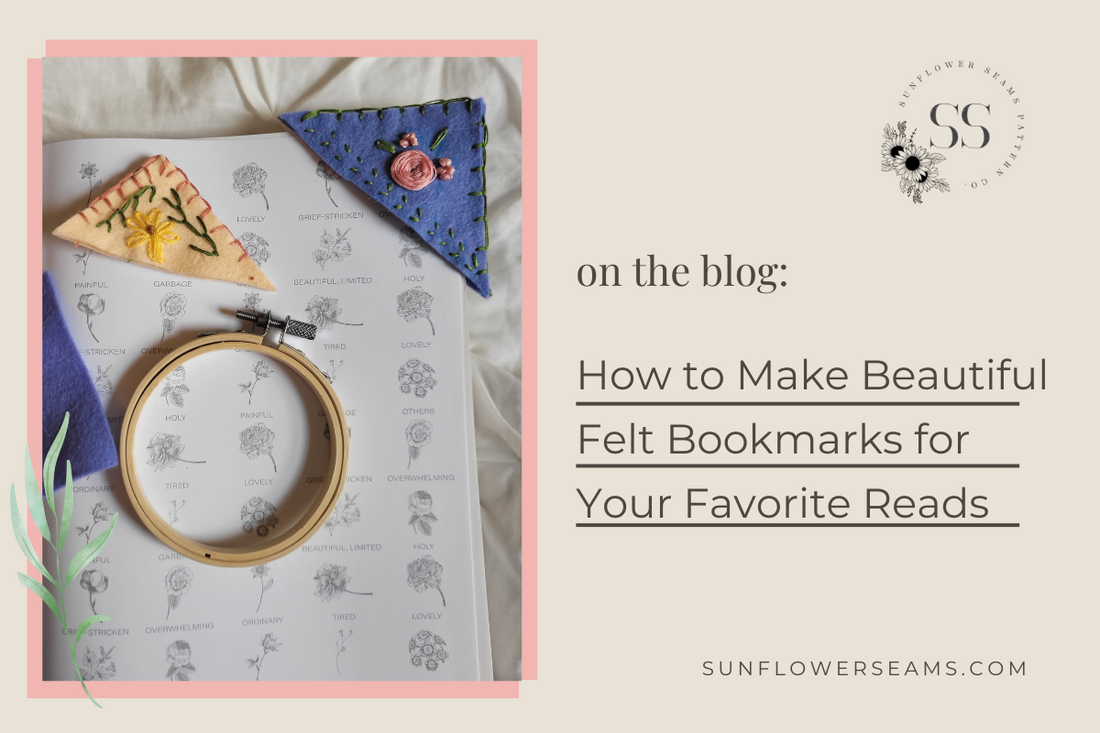
It's back to school time! And with back to school it means back to books and trips to the library.

What better way to keep up with your daily reading than with a custom made - just for you felt bookmark! And one for each kiddo and friend too! With how quick this project is you'll be making one for everybody.

These felt corner bookmarks are a perfect introduction to hand sewing and embroidery for your little one too!
Materials needed
- some felt squares about 3x3in in size.
- Embroidery thread
- Embroidery needle
- Embroidery pattern of choice. I will be using one of the mini designs from Sunflower embroidery pattern. You can trace your embroidery design directly onto your felt- or you can use a water soluble stabilizer like solvy and print the pattern directly onto it from your computer.
Step 1:
Trace the diagonal line that you will eventually cut to make 2 triangles. I find it easier to embroider on a larger piece of fabric. Add the embroidery design either through the method of tracing with a water soluble marker or using solvy. Complete the embroidery design you selected on the felt pieces.

Step 2:
After completing the embroidery design, cut along the diagonal line to make two triangles.

Step 3:
We are now going to use a blanket stitch to hand sew the two triangles together along 2 of the 3 sides to create a pocket.
For the blanket stitch I will be using all six strands single through the needle to do the blanket stitch.
** A helpful trick to get you blanket stitches even all the way around your bookmark is to draw two lines on your thumb that will hold the bookmark however far apart you’d like the stitches to be.
*** Another stitch you could use around the outside is a whip stitch as well.
Tie the threads off on the inside at the end to hide the knot. And now you’re done!


