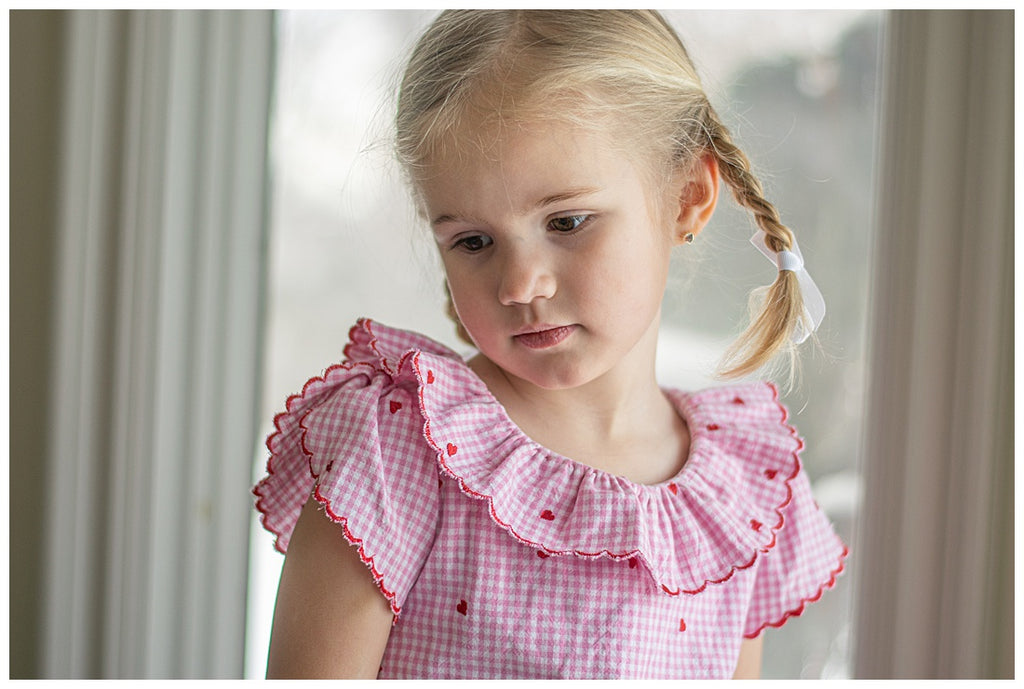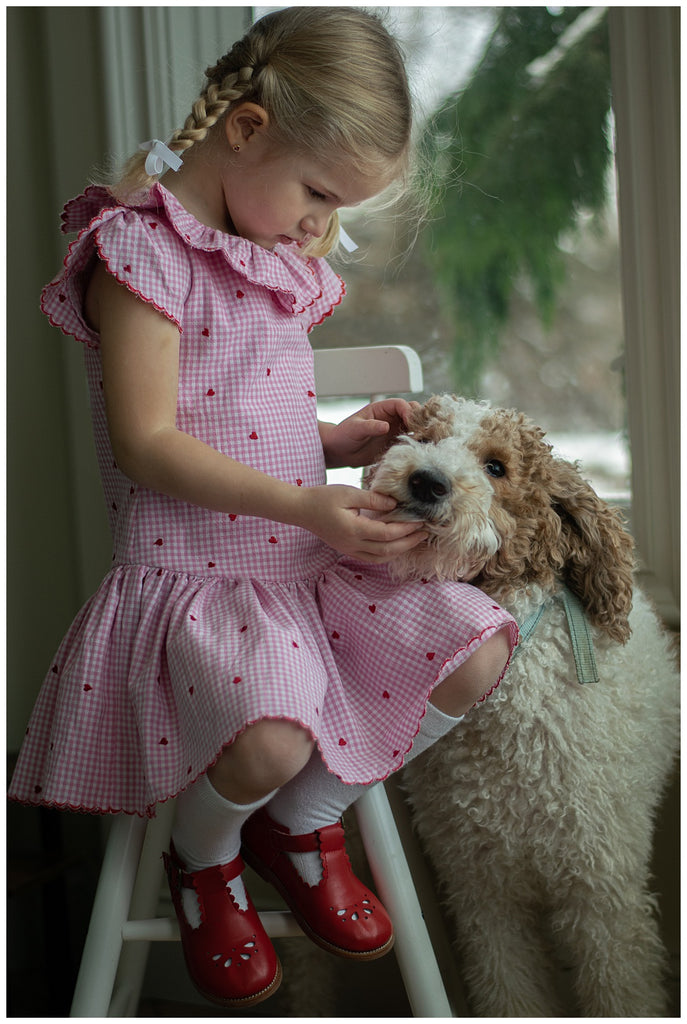
The scallop stitch on your sewing machine is the perfect way to embellish your sewing. It adds an elegant and romantic touch to anything you’re making. It’s so simple and only requires your sewing machine and a pair of scissors! In this tutorial I’m using a Bernette b77. Remember to check your sewing machine’s manual for the correct settings for your machine and the correct presser foot. The stitch should look like a scallop or shell shape.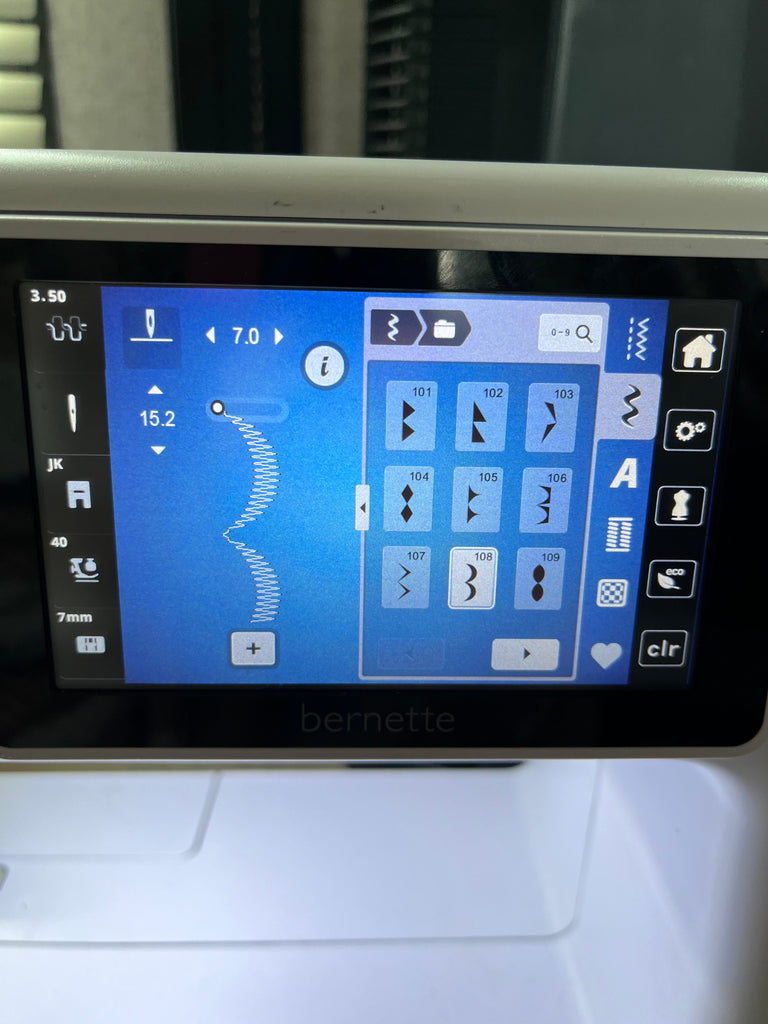
After you’ve checked your manual, I recommend getting a piece of scrap fabric and playing around with the stitch or stitches. My machine had three decorative scalloped stitches. I ended up using the one of the far right.

If you are using thinner fabric, you may want to use some tear away stabilizer or even use two layers of fabric. If you struggle with your fabric getting caught in the feed dogs, it may help to start sewing in from the edge or you can start sewing in the middle of a scrap piece of fabric and when you reach the edge of the scrap fabric lay your fabric piece against the scrap and continue sewing. When done, trim away the whole scrap piece. If you’re adding your scallops to the hem of a dress, measure up the length of the hem. You can draw a line with a heat erasing pen or water vanishing pen or you can just you can just use your sewing gauge. 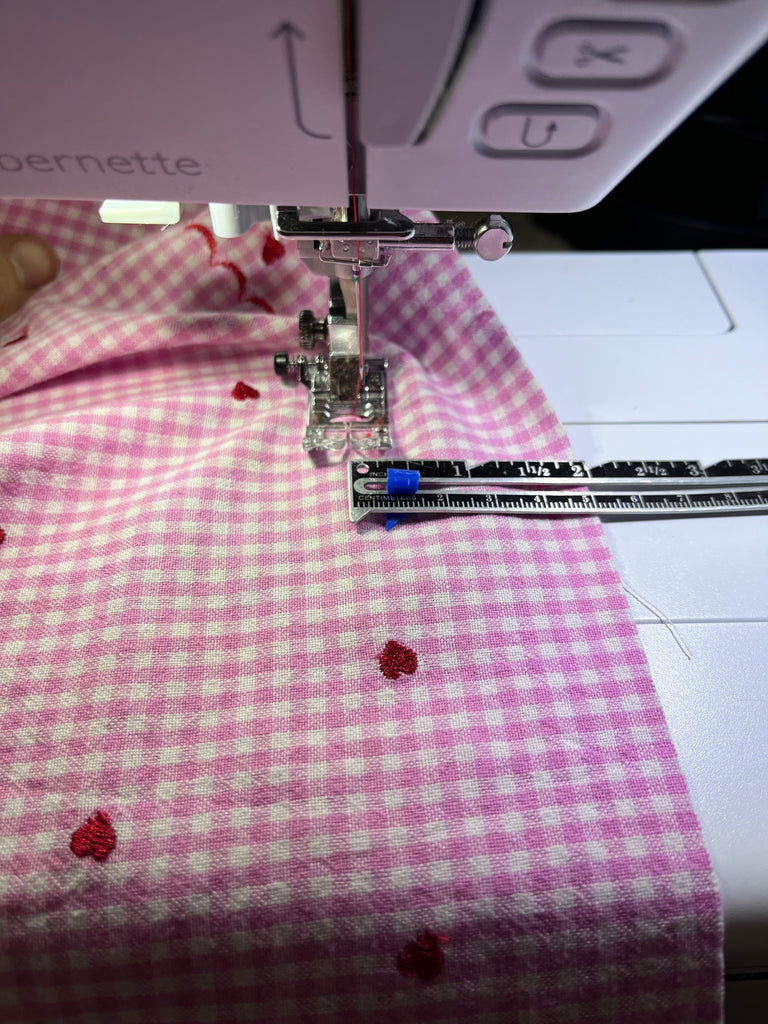
Now it’s time to trim away the excess fabric and along the scallops. You’ll want to go nice and slow here making sure to cut as close to the scallops as you can without cutting through any thread. I found some duckbill or curved appliqué scissors make the job easier!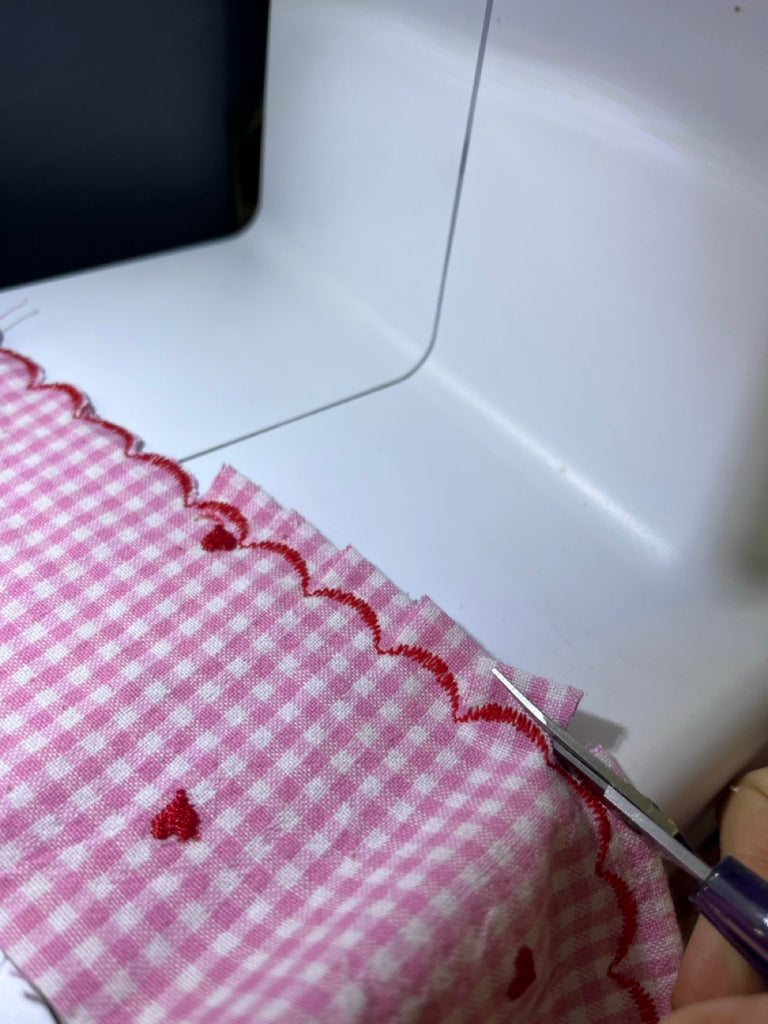
I hope you give this sweet little stitch a try and I can’t wait to see how you incorporate it into your sewing!
Happy Sewing!

