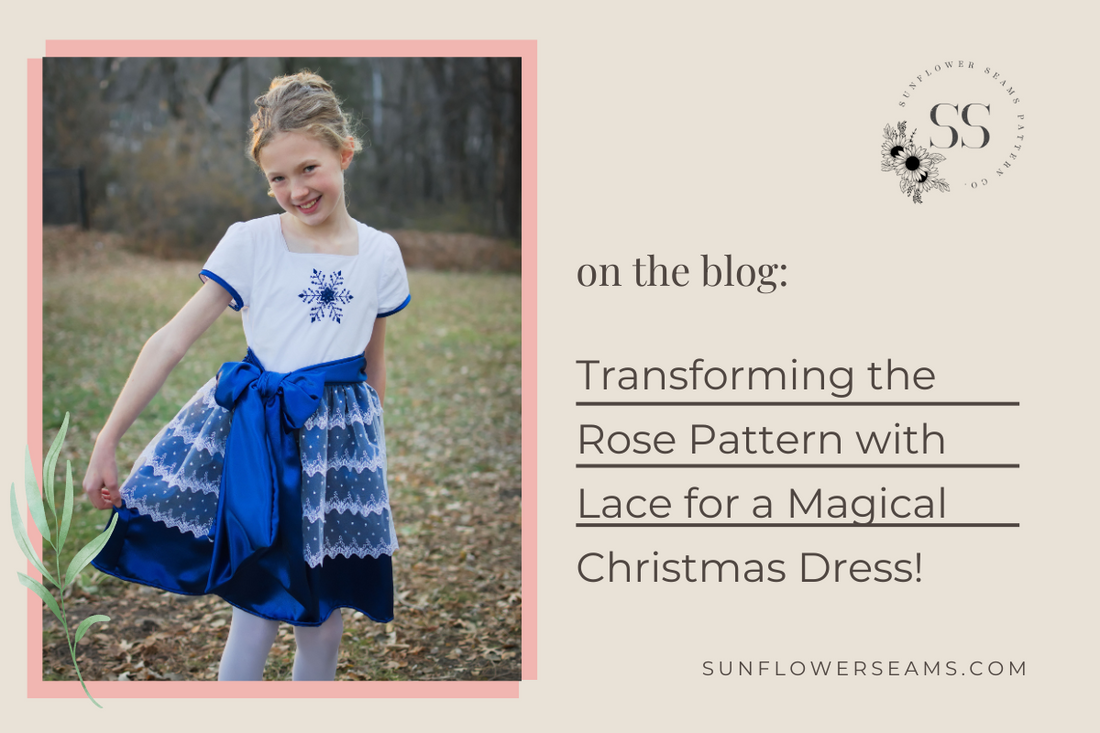
Hi sewing friends! It’s me, Tamar, from Tamar HOPE Designs. I’m so excited to be on the blog today with some Christmas Dress ideas for you! Christmas dresses are one of my favorite things to sew. They are just so pretty and my daughters are always so excited to see what I make for them each year. Having a new Mama-made dress makes the Christmas holiday feel all the more special for them. For this dress, I started with Rose, one of my all time favorite Sunflower Seams dresses!

This year I saw an idea at Hobby Lobby for sewing trim together to make a lace overlay. I took this idea and ran with it! I often have a hard time finding lace fabric that I really like. However, there are all kinds of pretty lace trims!!! So, I really like this concept! It has opened a whole new world of lace overlay options!!!! The only other modification on this dress is a sash that ties in the front instead of the back. That just offers a new little twist on any pattern with a sash.
Let’s get sewing!!!!
You will need:
Fabric in the amounts listed in the Rose pattern
8-12 yards of lace trim (amount varies depending on size of dress and width of lace)
When you cut your dress out, you will want to cut the simple bodice for the front and the bodice with a faux waistband for the back pieces. Make sure to grade for the waist, so you don’t have excess fabric in the front when you tie the bow. Cut your skirt pieces as listed in the cut chart. For the lace, cut pieces twice the length of the skirt pieces minus ¾”. For example, my skirt pieces were 40 inches wide, so I cut my lace trim into 79 ¼” lengths.

You will follow the directions for the Rose bodice with one exception. When you get to step 12, you will sew the sash to the sides of the back pieces instead of the front pieces.

For the lace trim, overlap two lengths in a way that fits with the pattern of the trim. Sew them together with the first length overlapping the second length. Make sure that your stitches fall in an area that isn’t very noticeable. If your lace is very delicate and you can’t find a good spot for your stitches to fall, you can always hand stitch them together to better hide your stitches.

Continue sewing lengths of trim together until you have a piece that is the length that you desire.

Sew and hem your skirt pieces according to steps 39 and 40.
Next fold your lace piece in half widthwise. Sew the side seam with a french seam as instructed in the steps for the cap sleeve seam (steps 24-25.)

Before completing step 41, find the center back of your lace and match it with the center back of the skirt. For steps 41-47, keep the lace and skirt together and treat them as one fabric. It can help to glue the lace to the skirt on either side of the cut created in step 41.

When gathering the skirt, I continued to treat the lace and the skirt as one and sewed my gathering stitches through both layers at once.

If you’d rather have a poofier overlay, you can gather the lace separately from the skirt.
Sew the skirt to the bodice and stand back and admire your work! I love how a simple lace overlay can make a dress just a little extra!

Happy Christmas Sewing!!!

