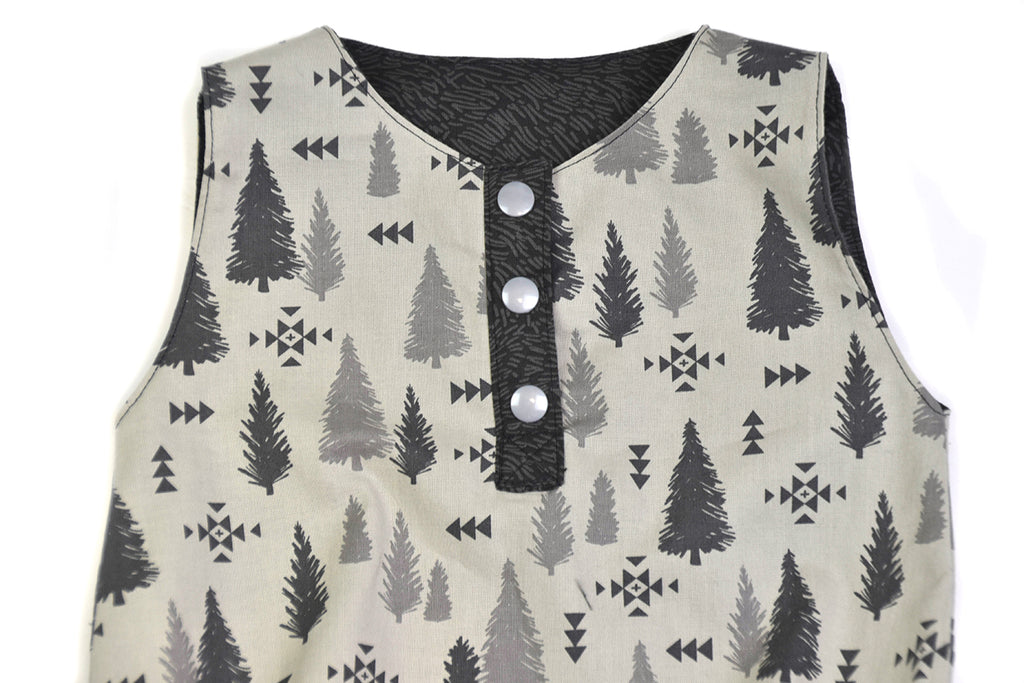
Happy Thursday friends!! Henley plackets are a fun way to add a pop of color to any garment and I love making them! It also helps getting a garment on for any child with a larger than average head. Today I am going to walk you through the steps on how to sew a henley placket to any garment using a fun, new fabric collection from Riley Blake.
Timberland is filled with elk, moose, fox and other wild animals on a backdrop of charcoal, cream, gray and gold.

Henley Placket Tutorial
- Figure out how wide you want your finished placket to be. For this romper I chose 3/4″. The length of the placket is also personal preference. Once you have your desired width (X) and length, cut out your rectangle for the placket. For the purposes of this tutorial I am using a 5.5" x 5"
2. Mark the center front of the garment with a Frixon pen or sewing pencil.

Using a Frixon pen or sewing pencil, draw a line down the center of the placket on the wrong side of the fabric. Next, measure up 1/2” (1.2 cm) from the bottom and draw a horizontal line. It is helpful to interface the wrong side of the placket to help stabilize the placket.

Fold each of the long ends in 1/4” (6mm) towards the wrong side and press.

With the garment laying flat and facing up, place the placket on top, right sides together, matching up the center line of the garment with the center line of the placket. Starting at the neck, sew down the placket with a 3/8” (1 cm) seam allowance. Stop at the 1/2” (1.2 cm) horizontal line, sew across and back up the placket.

Cut the center line of the rectangle you just sewed, stopping 1/4” (6mm) away from the bottom stitch line and angle your cut to each corner, creating a Y.

Working on the bottom of the placket, cut up to the stitch line, making sure not to clip and stitches. Next trim off the far edges, using the 1/4” (6mm) fold line as a guide.

Working on the right side of the placket, fold up the bottom of the placket. Fold the placket over to the inside of the garment, making sure the bottom of the placket is completely covered by the placket. The folded edge of the placket will be slightly over your stitch line. Pin in place.

Working on the right side of the garment, top stitch 1/8” (3mm) away from the inside edge of the placket and across the bottom. Repeat these steps for the other side of the placket.

Add snaps or buttons to the henley placket.

Timberland is now available on the shelves of your favorite local and online quilt shops!!
Be sure to follow @sunflowerseams on Instagram, we have something BIG coming soon!! Also, while you are there you can follow @rileyblakedesigns for more inspiration and beautiful fabric!!
Happy Sewing!!


