Hi All!
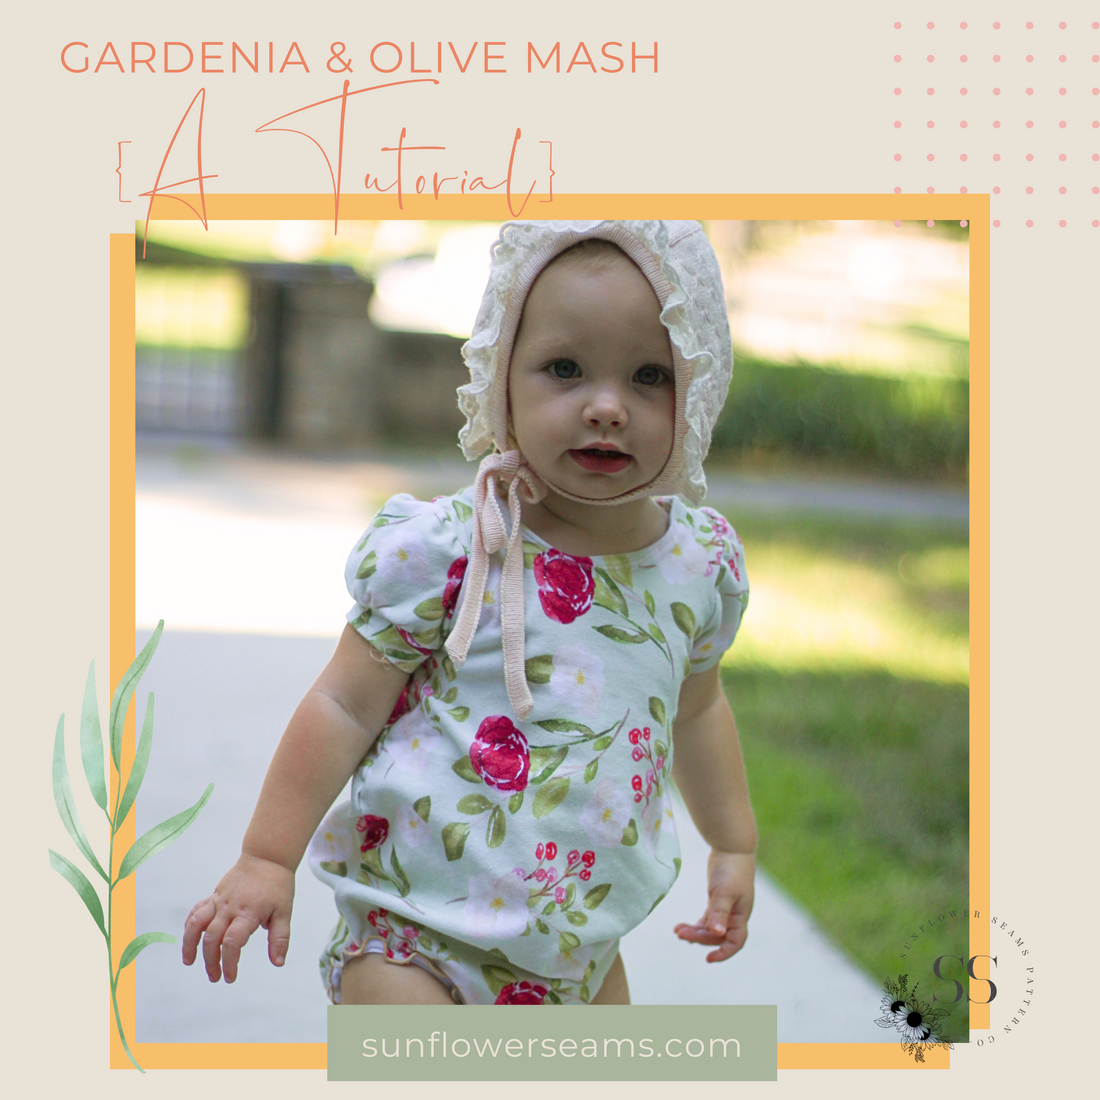
My name is Grace and if you sew for a baby girl then you’re going to want to be in on this mash up! I love the key features of the Baby Gardenia top- the facing, the super cute collar, and the puff sleeves. But that cute little baby belly always finds a way to make her top ride up! I decided I needed the Gardenia top as a romper, and the Olive pattern was the perfect mash up to get just that! It looks so cute layered under overalls, paired with bloomers, or just on its own!
To start, print off the bodice pieces in the proper size of Gardenia and whichever options you want- collar/sleeves, and the facing pieces. Also print off the size needed for the Olive romper( you will need the entire romper) and put your pattern pieces together.
Next, you will need to choose the fabric you want to use, since we are using the neckline and armscye of Gardenia, you will need a knit fabric with a 4 way stretch. For the romper bottom we will need single fold bias, ¼ “ elastic and snaps.
Lastly, tape a few sheets of blank paper together so you can trace the new pattern pieces we are going to create.


What we will be doing is taking the neckline and armscye of the Gardenia top and from under the armscye we will trace down the olive pattern.


Draw the neckline up to the shoulder and then draw the armscye.
Next, match Olive up where the neckline goes and then draw downward from the underarm all the way along the side seam.


After you’ve done this for the front pieces, we will do the back pieces. Trace the neck and armscye of gardenia back again. Then match the shoulder seam up to trace the side seam and the straight fold line to create the back piece.


Now that you’ve traced your pattern pieces you can cut your fabric.


 Now for construction, to start we are going to be using the Gardenia pattern instructions for sleeve, facing, and the collar. After everything is constructed- sleeves added, facing attached and side seams sewn we will switch to the Olive pattern instructions. Starting with adding the bias leg elastic casing.


I can’t wait to see all your little ones in your mash ups!

