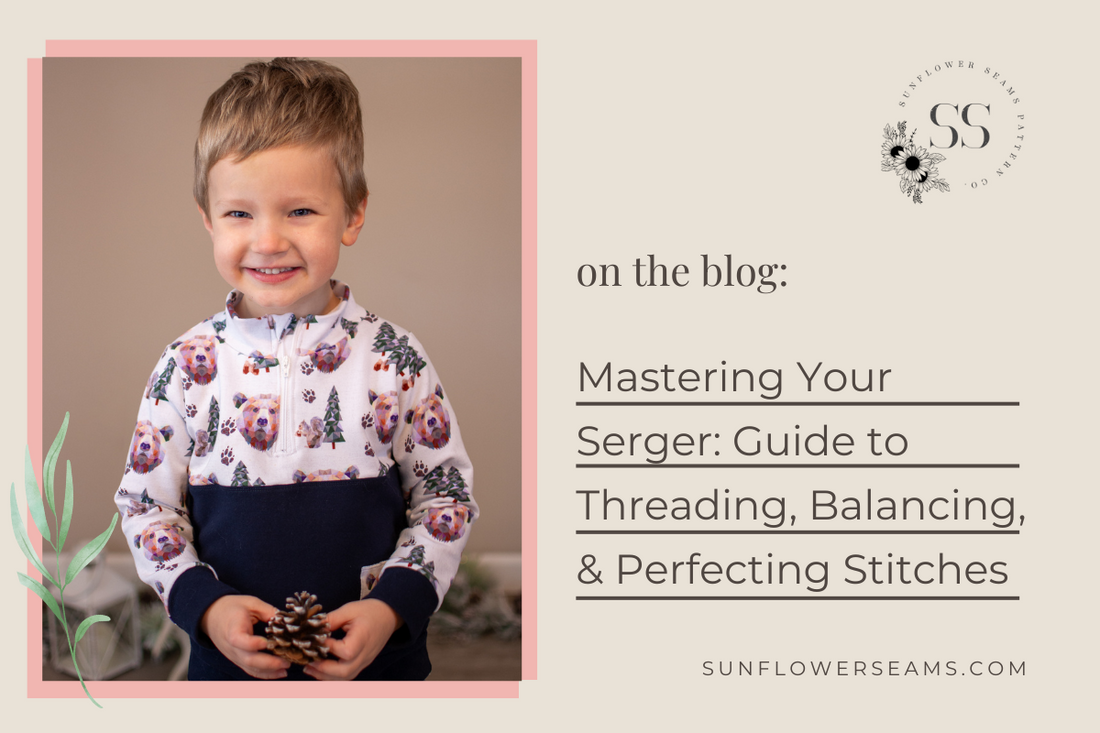
Hello Sewing Friends! It’s Tamar from Tamar Hope Designs! I’m excited to dive into sergers with you over the next few months. We will be covering all the basics to get you up and running today. In the following months we will be taking a look at other things you can do with a serger such as flatlock stitching, gathering, and blind hems. A serger is such a wonderful tool to have in your sewing arsenal! It completely revolutionized my sewing, and it can do the same for you! It makes sewing knits an absolute breeze. The stitches are stretchy and durable and will hold up to your most active little one. This guy is by far my most active one, and even he doesn’t pop serger seams.

Threading
The first thing to learn is how to thread your serger. It’s more complicated than a domestic sewing machine, but it’s really not that hard. Check your manual. Most sergers have arrows indicating where each thread goes.

Many sergers have a specific order for threading. Often the upperlooper (second from the right) needs to be threaded first, followed by the lowerloop (far right), then the right needle (second from the left), and finally, the left needle (far left).
Here is a video for threading a Brother 1040D serger. This will give you a good idea of how to thread most sergers.
Balancing
Once you have your serger threaded, you will need to balance your stitches. The easiest way to learn which thread is which is to use a different color for each dial. Your goal is for the loopers to meet nicely at the edge of the fabric and for the needle stitches to be small and even.

Start with a tension of 3 for each tension dial. If the tension on a needle is too high, it will look as though the needle thread has been pulled so tight that you can hardly see the stitches.

If the tension on a needle is too low, it will be loopy instead of forming even stitches.

If the tension on a looper is too high, it will pull the other looper over the edge of the fabric.

If the tension on a looper is too low, it will be loose and come over the edge of the fabric.

If you see any of these things happening, adjust the tension accordingly until you have a nice balanced stitch.
Sewing
Unlike a domestic sewing machine, you can and should sew without any fabric under the presser foot. Start sewing with no fabric to create a chain. Then place your fabric right up to the knife blade and allow the feed dogs to feed the fabric through.

When you are finished with a seam, continue to sew to create a serger tail.

If your serger tail will be sewn over in a following step, (ex. A shoulder seam gets sewn into both the sleeve and the neckband) you can leave the tail. If the serger tail will not be sewn over, you need to tie off the tail to prevent it from unraveling. There are a few methods for tying off serger tails, but my favorite is using a needle to thread it back through the seam. To do this, thread the serger tail through a large needle with a large eye. Thread the needle back through the loopers in the seam.

Pull the thread through the seam and cut it off close to the seam.
Seam Allowance
Maintaining an even seam allowance is a little trickier than it is on a domestic machine, but with a little practice, you can master it. The easiest seam allowance to maintain is ⅜ inch. For this reason, I love that all of the Sunflower Seams Patterns’ seam allowances are ⅜ inch. This seam allowance is so easy to maintain, because you just line the fabric edge up with the edge of the plate.

In order to serge with a ½ inch seam allowance, aim the edge of the fabric toward the second line on the machine.

For a ⅝ inch seam allowance aim toward the third line.

You will need to aim the edge of the fabric toward the line and ignore the cut part of the fabric that curls off of the knife.
I sincerely hope this post has helped you get started with your serger! There is a little learning curve required to get started, but it is soooo worth it!!! You are going to love the ease with which you can make garments and the professional looking finish that you are able to achieve with your serger! I know this guy loves his new Elm pullover made completely with a serger and a topstitch.

Happy Serging!
-Tamar

