Hello Sewing Friends! It’s Tamar from Tamar Hope Designs back with your next serger tip! Did you know that you can use your serger to create a blind hem? It’s pretty great! I like to use blind hems for dress pants, skirts made of suiting material, curtains, etc. You can also use the serger blind hem for knit shirts allowing you to use your serger to construct an entire top. For this project, my son has a hand-me-down suit coat that he loves to wear. We don’t have any matching pants though, so I set out to make some!

I used a slightly modified Blue Star to create this look (see this post to create a flat front Blue Star with a faux fly). But a good looking dress pant needs a blind hem finish, so let’s dive in.

Length
The first step to hemming is finishing your edge. I like to use my serger to finish the edge before I hem it. You can also use a zigzag stitch, or you can turn the edge under twice to create your hem.

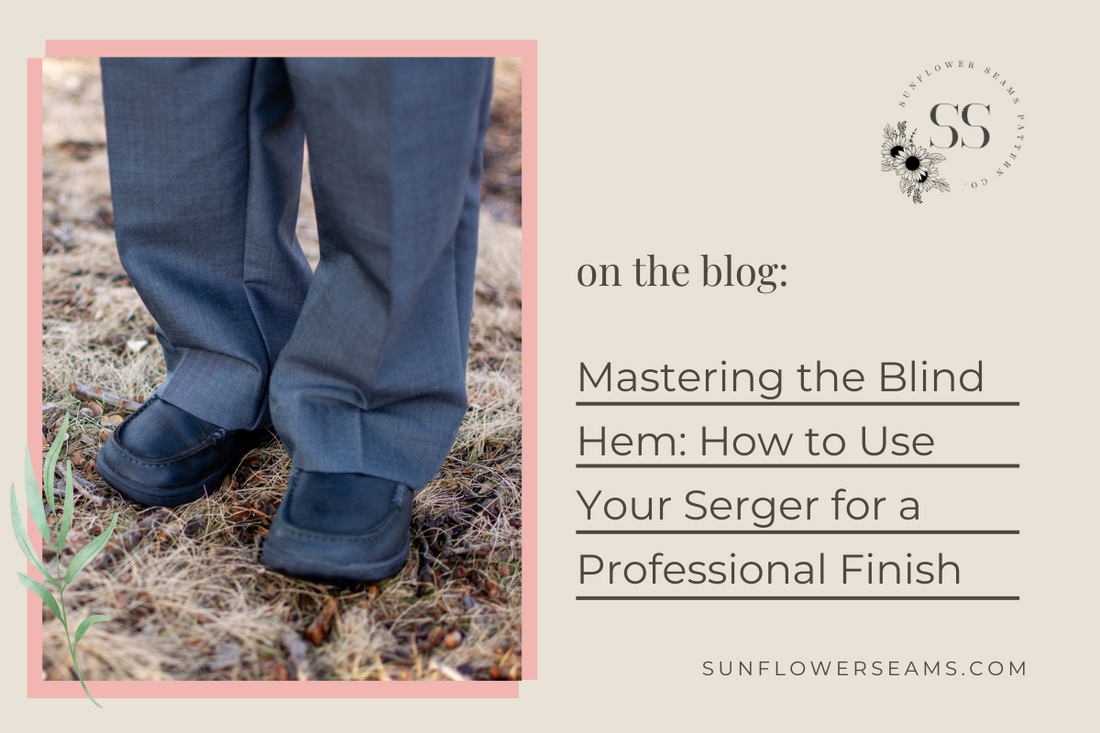
For best results, you’ll want to have your model try the pants or skirt on to determine the best length. For dress pants you have several options. You can hem it with a full break, half break, no break, or negative break.
A full break means that the pants hem hits the top of the shoe and the fabric pools and folds around the ankle. The back of the pants reaches at least midway down the back of the shoe. This length is my choice for growing boys, because it allows for the most growth before I have to let the hem down.

A half break means that the pants hem hits the top of the shoe and bends slightly, but doesn’t pool around the ankles. If I am hemming for a special occasion, this would be my length choice. It’s a little more modern of a look than the full break.

No break means the pants hem just grazes the top of the shoe, but the fabric does not bend at all.

And finally, a new trendy look is the negative break where you get to show off your fun socks. This length does not quite touch the shoe. I feel like this trend is good news for boy moms!! It means our growing boys can wear their pants a little longer before they outgrow them!

Once you have decided on your length, iron your hem in place.

Blind Hem with the Serger
There are a few ways to achieve a blind hem. One is by using your serger. To set up your serger for a blind hem, first attach the blind hem foot.

Next, remove the right needle and adjust the tensions. You’ll want a very loose tension on the needle and a tight tension on the lower looper. Start with left needle 0, upper looper 4, lower looper 7. You may have to adjust slightly depending on your fabric.

To sew a blind hem with your serger, hold the pants right side out.

Flip the hem to the outside of the pants and fold the fabric right below the finished edge. Clip in place.

Your hem will now be flipped out with the raw edge above the hem line fold.

You’ll want to practice on a scrap to get the foot adjusted just right. The fold of the fabric should butt up to the white plastic piece. You can adjust the white plastic piece to get the fold in just the right spot so that the needle just barely pierces through the folded fabric.

Sew slowly making sure each time the needle goes down it just grazes the edge of the loop of fabric. The knife will cut off the edge that reaches past the folded edge.

When you are finished, flatten the fabric, and you will see a “v” shaped pattern on the wrong side.

And you should only see tiny stitches on the right side of the fabric.

These stitches should only be visible if you look closely. From a distance, you shouldn’t be able to see them. Make sure your thread matches really well!
Blind Hem by Hand
Even though the serger is a fun tool for blind hems, I have to admit that I still prefer to do them by hand for dress clothes. To stitch a blind hem by hand, start by tacking the finished edge to the side seam allowance.

Then proceed to sew through the finished edge and just catch one or two threads of the main fabric just above the finished edge.

Continue sewing around the hem, catching one or two threads of the main fabric for each stitch.

When you finish stitching the hem, tie off your thread by sewing through the seam allowance and threading the needle back through the loop of thread created by your stitch.

If you look closely, you might see tiny stitches, especially if your fabric is thin. But from a distance you shouldn’t see any stitches.

Now stand back and admire your work. The little details make all the difference!

Happy Blind Stitching!
-Tamar