I love a big sash on a dress. I used to spend so much time fussing with bows and trying to get it right, but then I learned this method. Quick, easy and perfect each time. I used the big bow on Rose for this blog post.
1. To tie the perfect bow, start by crossing both sides right over left and taking the right side (one on top) under and pull up. Keep that side pulled up and out of the way. I place it on the shoulder and ask my little model to hold it.

2. With the bottom side of the sash, fold it into the first bow loop (or bunny ear)

3. Now take the side that you have resting on the shoulder and pull it down over your bow loop to make an X. You'll notice that now you've created a circle behind your X. Very carefully, without losing your circle, transfer how you're holding your X. Pinch your bow by placing your thumb on the center front of your X and your index finger underneath your X, inside the circle.
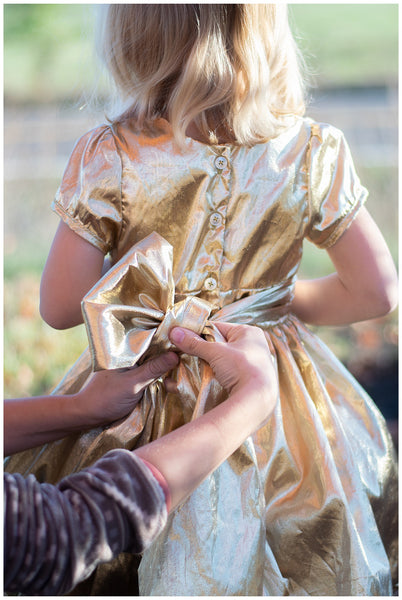
4. Now you will take the side on top of the X (that was previously on shoulder) and push it through the circle or the hole under the X and your index finger.

5. Tighten and fluff your bow until you get it just right!
A well-tied bow can transform an ordinary dress into a stunning ensemble. With a little patience and attention to detail, you'll be tying bows with confidence and elegance, adding that extra touch of glamour to your little one's outfit.
Happy Sewing!
