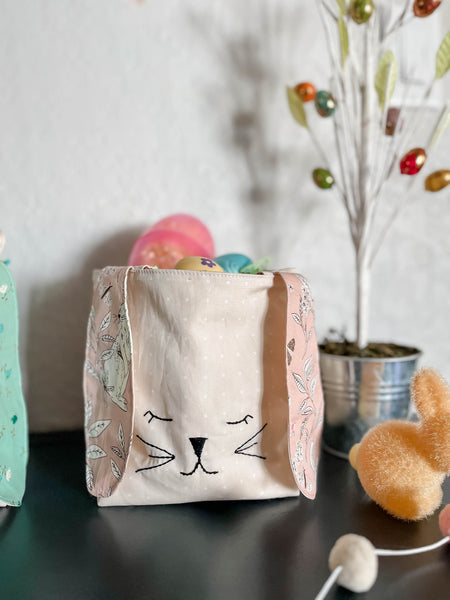
- Ear pattern from Begonia Bunny (decreased to 75%)
- Embroidery Floss for face
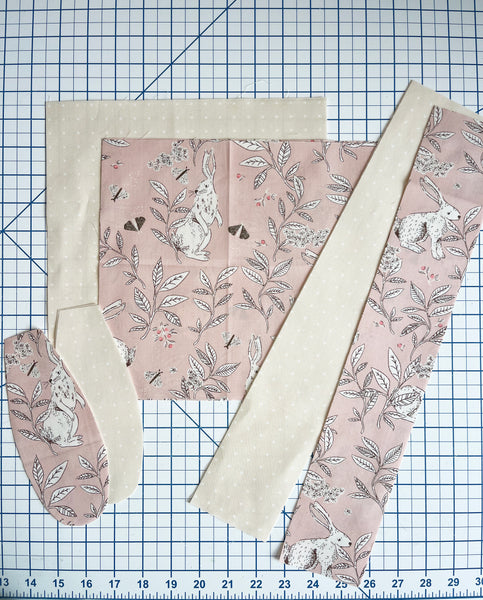
- 2 Fat Quarter Fabrics (Art Gallery Fabrics Egg Hunt Bundle)
Step One: Cut the fabrics as listed below.
- 3 - 9.5" x 10" Front (main, lining, fusible batting)
- 3 - 9.5" x 10" Back (main, lining, fusible batting)
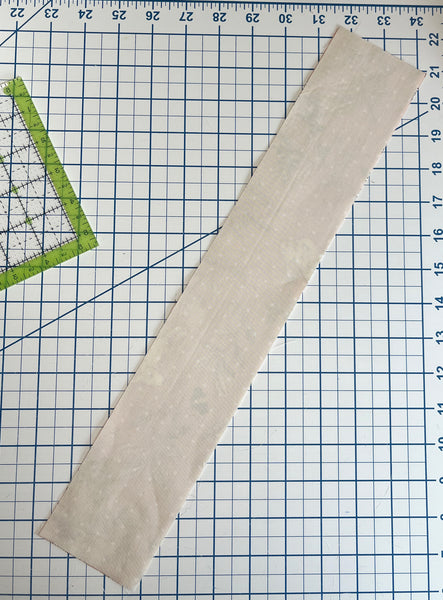
- 4 - 3" x 16" Strap (2 main, 2 lining)
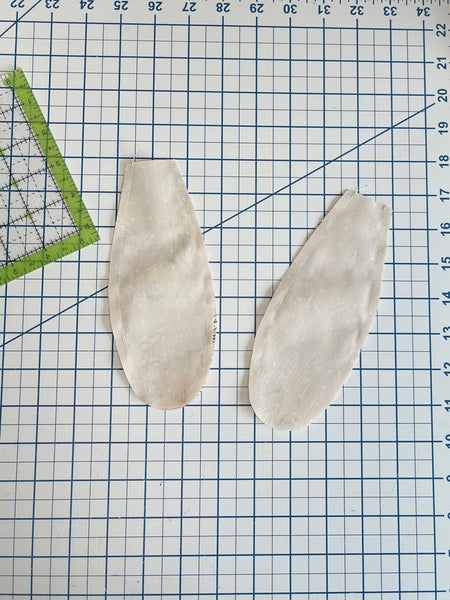
- 4 ears (2 main, 2 lining)
Fuse batting to your lining pieces following the manufacturers instructions.
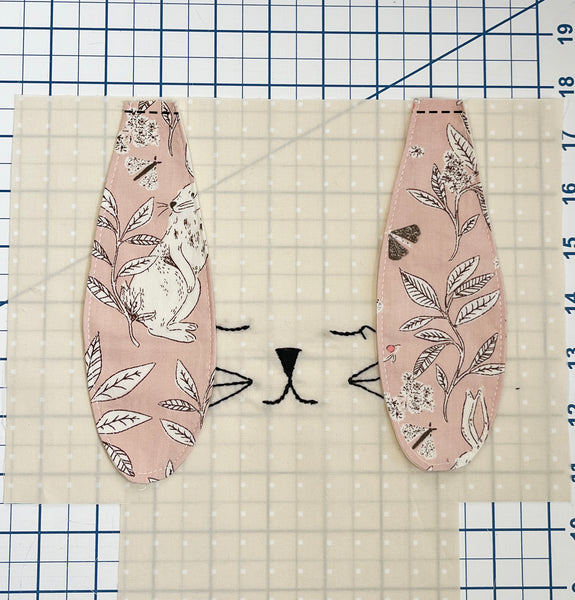
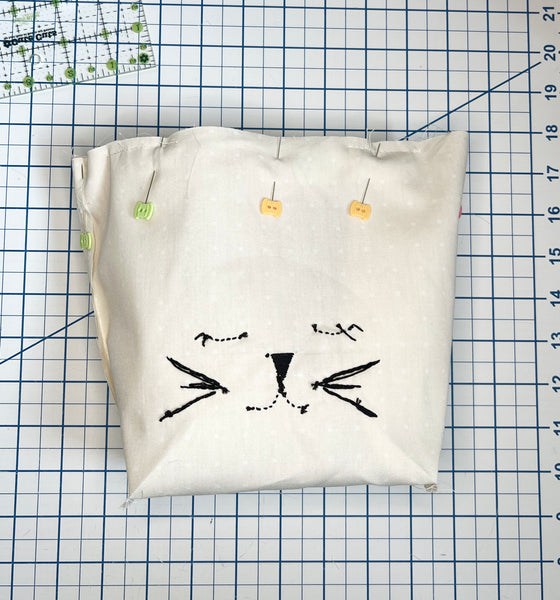
Step Two: Transfer Begonia face to center of front main fabric piece. Embroider using desired stitch.

Step Three: Mark a 2" square on the bottom left and right side and cut out. Repeat on the main pieces.

Step Four: Pin one ear main piece to one ear lining fabric piece. Sew along the curved edge, leaving the top edge open. Trim seam allowance, turn ear right side out through opening, and press flat. Topstitch around curved edges of each ear, 1/8″ from edge. Repeat with remaining ear pieces.
Step Five: With main fabrics touching, baste ears to the front piece, 2" from each edge.
Step Six: Place main strap piece on top of lining, right sides together. Sew along both long raw edges, leaving the short edges open. Turn straps right side out, press. Topstitch each strap 1/8" from edges.
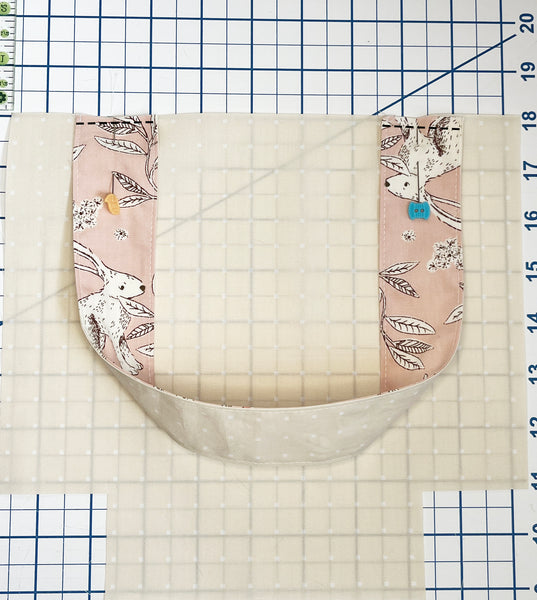
Step Seven: Pin strap ends to front main piece 2" from each edge. Be sure strap is not twisted. Repeat with remaining strap on the back main.
Step Eight: Lay the lining pieces, right sides together and sew the left, right and bottom sides. DO NOT sew along the cutouts. repeat this step with the main pieces.
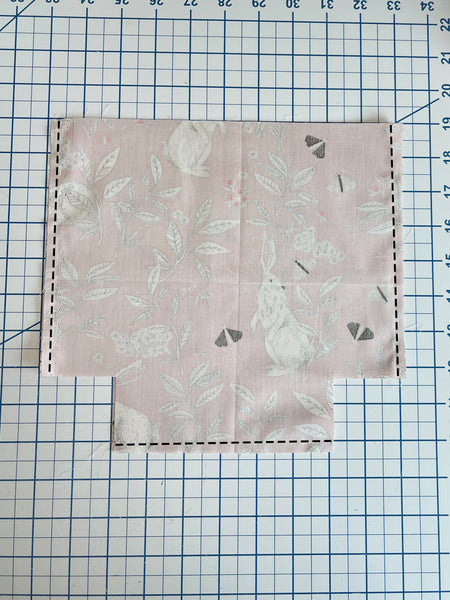
Step Nine: Pinch the cut out in order for the side and bottom seams to align and pin. Sew along the raw edge. Repeat for main.

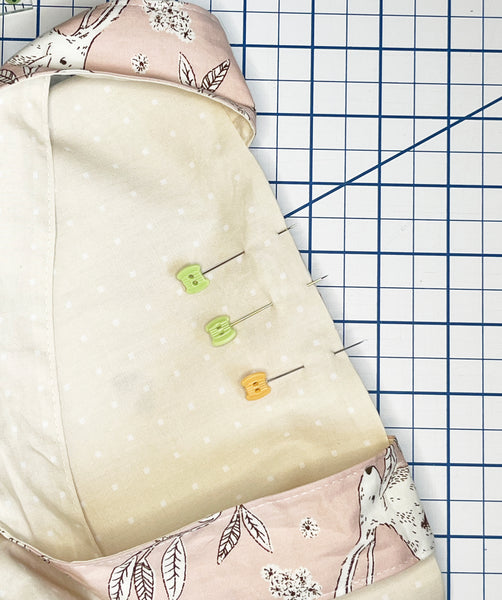
Step Ten: Place the lining inside main, right sides together and pin. Sew around the top edge, leaving a 2" opening between the back straps.
Step Eleven: Turn bag right side out and press well, pinning along the opening from previous step.
Step Twelve: Turn the ears and straps up and topstitch along the top of the bag 1/8" from the edge to close the opening.
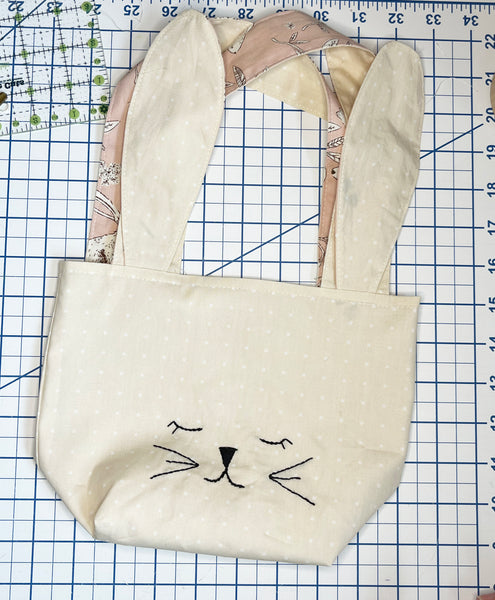
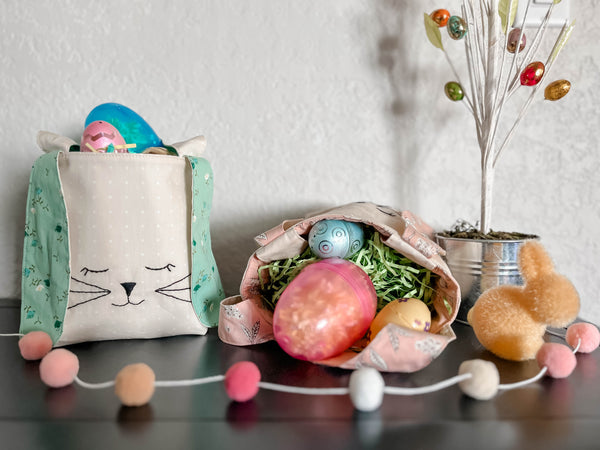
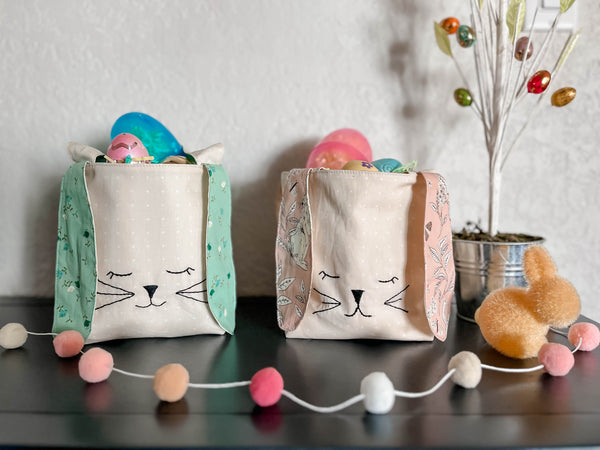
Step Thirteen: Fill your bag with some favorite treats and enjoy!
Happy Sewing!