Hi there, Cassandra here with another fun tutorial for you! I have never owned pattern weights. Every time I go to cut out a pattern, I randomly start grabbing items around me to use...my phone, a candle, pin catcher, and so on. I finally changed that and made these easy and fast pattern weights. It was such a fun little craft and a great way to use some of the scraps of fabric I had laying around. My 4-year-old was a big help, too!

1. Gather your supplies.
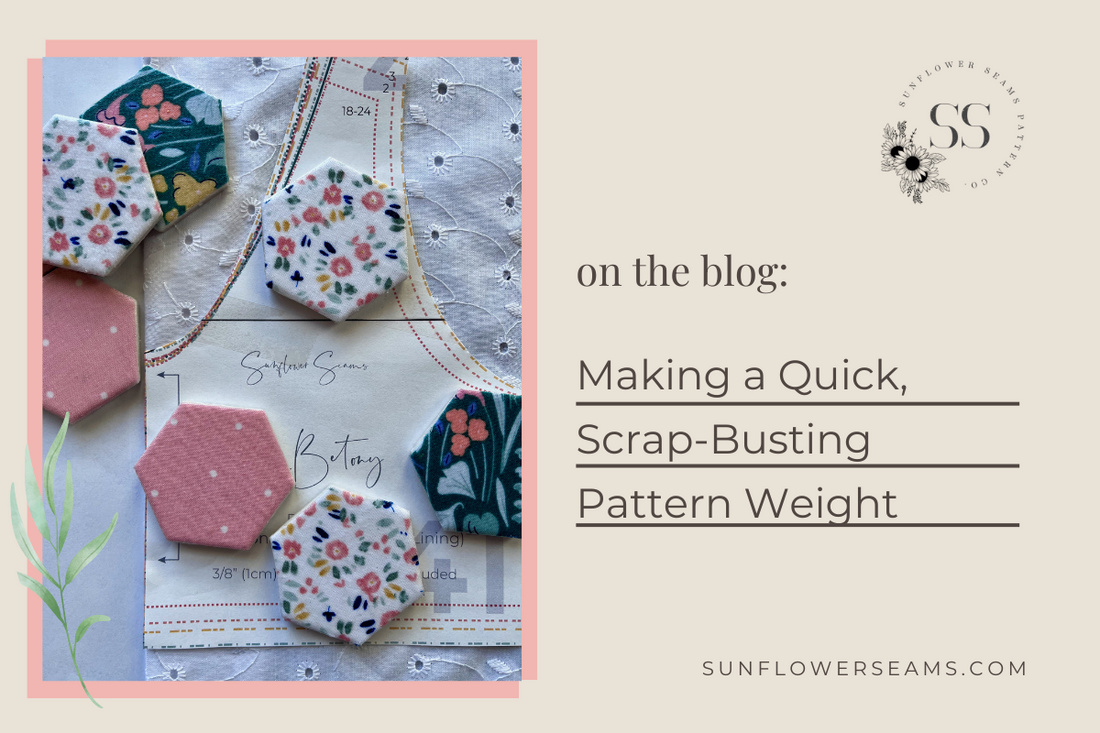
- Small Tiles: I bought these hexagon tiles from a local home improvement store, but you could use any small shape of tile.
- Mod Podge: If you’re not familiar with Mod Podge, it’s similar to glue, but can be used to glue, seal and finish. You can find it at any craft store or most stores that have craft supplies.
- Rotary Cutter or Fabric Scissors
- Scraps of Fabric: I used cotton woven for this project.
- Paint Brush
- Heat or Water Erasable Fabric Pen: This is optional and I didn’t use them.

2. Before you get started, get your fabric ready by giving it a good press and get your tiles ready by peeling them off the mesh.
3. Now you can cut out your scraps. I used my rotary cutter for this step. I laid the tile on my fabric as cut along the sides. If you prefer to use fabric scissors, I would recommend tracing the hexagon with a heat or water erasable fabric pen and then cutting along your lines. Don’t forget to erase your lines before moving on to the next step.

4. Now you can paint the Mod Podge on the right side of the tile and position a hexagon piece of fabric on top right side facing up. Smooth out any air bubbles and paint some Mod Podge on top of the tile. I like to paint it on the sides of the tile as well to make a smoother corner. Don’t worry that it looks opaque now, it will dry transparent. Allow it to dry for 30 mins before apply another coat or whatever the directions say on your bottle. You can use as many layers as you desire, but I would recommend at least 2.
 It was such a fun craft to share with my daughter! I hope you give it a try and enjoy it, too!
Happy Sewing!

1 comment
I LOVE THE FABRIC COVERED TULES FOR PATTERN WEIGHTS! SO CUTE! THSNKS FOR SHARING!