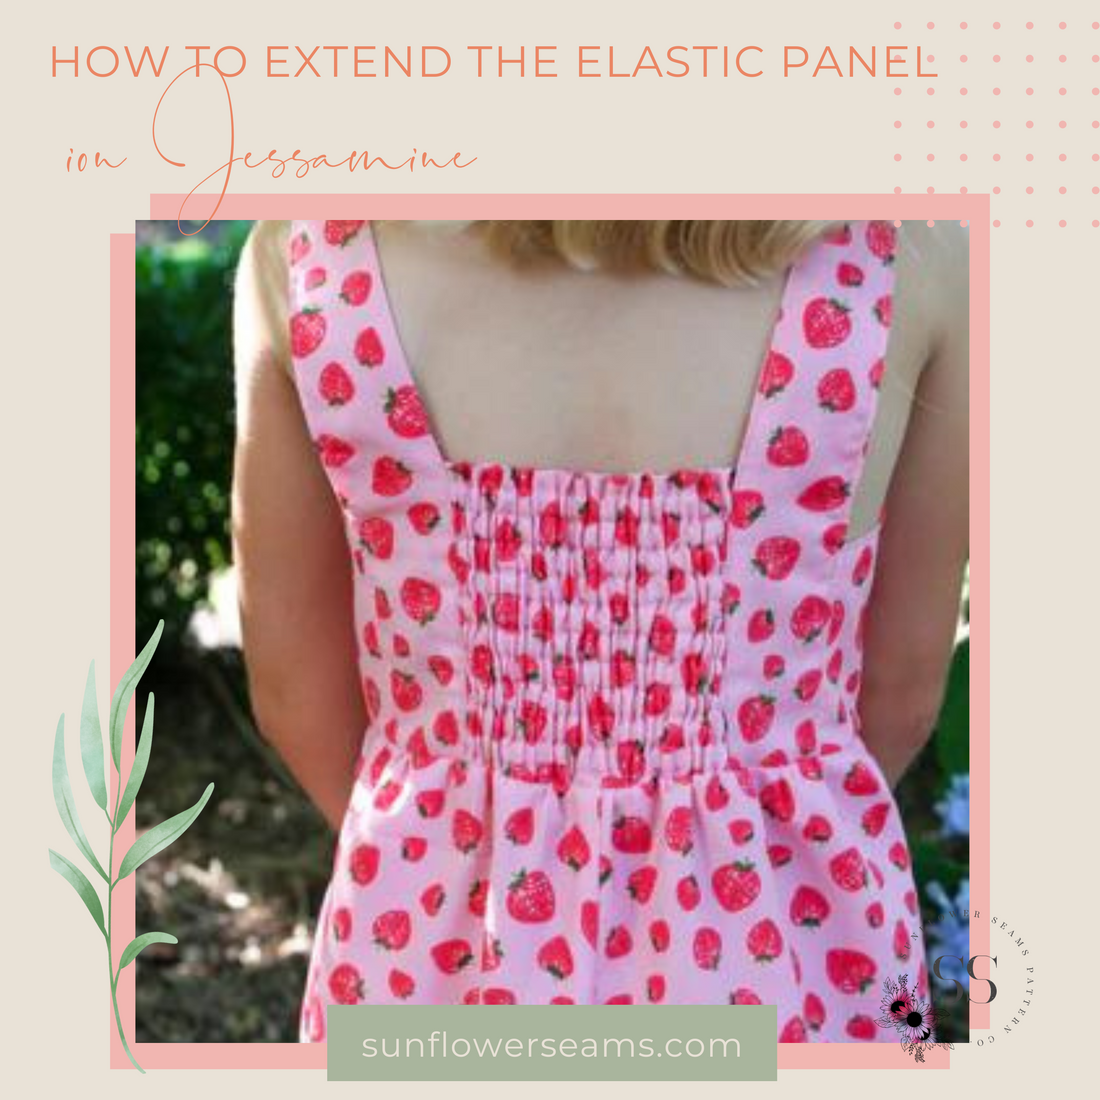
Hi, Cassy here!! Were you as excited as I was when you saw the cute release of Jessamine Romper?! I was head over heels for this romper but I wanted a way to make it easier for my kindergartener to get on and off herself so that she could wear it to school. This tutorial will show you how to eliminate the tie back and extend the elastic panel so that your little one can pull the Jessamine romper on and off herself.

- The first step is going to be to figure out how much larger than the original pattern to make the back elastic panel. Fold your pattern piece in half from top to bottom, and then in half again. You will now have 3 fold lines when you open it back up. Set aside.


- Next we will cut out the elastic back casing. You will be cutting your elastic panel fabric according to the pattern piece BUT cut it on the fold instead to get some extra height.


- Next, put your pattern piece against your fabric piece and note the difference.


- Trace a line with a water erase pen onto the fabric. This line will show where you trim the fabric. Be sure that your fold is on the top.


- Trim fabric at this line and discard the bottom portion.


- Next we will adjust the back bodice pattern piece to eliminate the tie. Start by folding the tie back from the bottom opening to the interior shoulder seam to create a straight line.


- Cut out your pattern pieces and mark the area on the back bodice where your panel will end so that you know where to stop your sewing.


- Start following steps 1 and 2 of the Jessamine tutorial as normal. Step 3 will be done with your new modified back bodice pieces, sewing down to the marks that you made.


- Continue to follow steps 4-14 in the tutorial as directed.


- Begin step 15 as directed, but stop making your casing rows 0.5inches from the bottom of the panel. Count how many rows that you have sewn and cut that same number of elastics per the cut chart. Continue through the tutorial to make the finished elastic back.
- Pin the wrong side of the lining to the panel on both sides and sew to secure


- Pin wrong side of back bodice to the panel, sew to secure.


- Now working on the side seams of the front and back lining, pin right up until the spot where the front bodice lining meets the back bodice lining and sew. Repeat for bodice and back main. Repeat for the opposite side.


- Press well and topstitch.


You now have completed the new bodice for your Jessamine romper!


