Hello fellow sewists, Grace here!


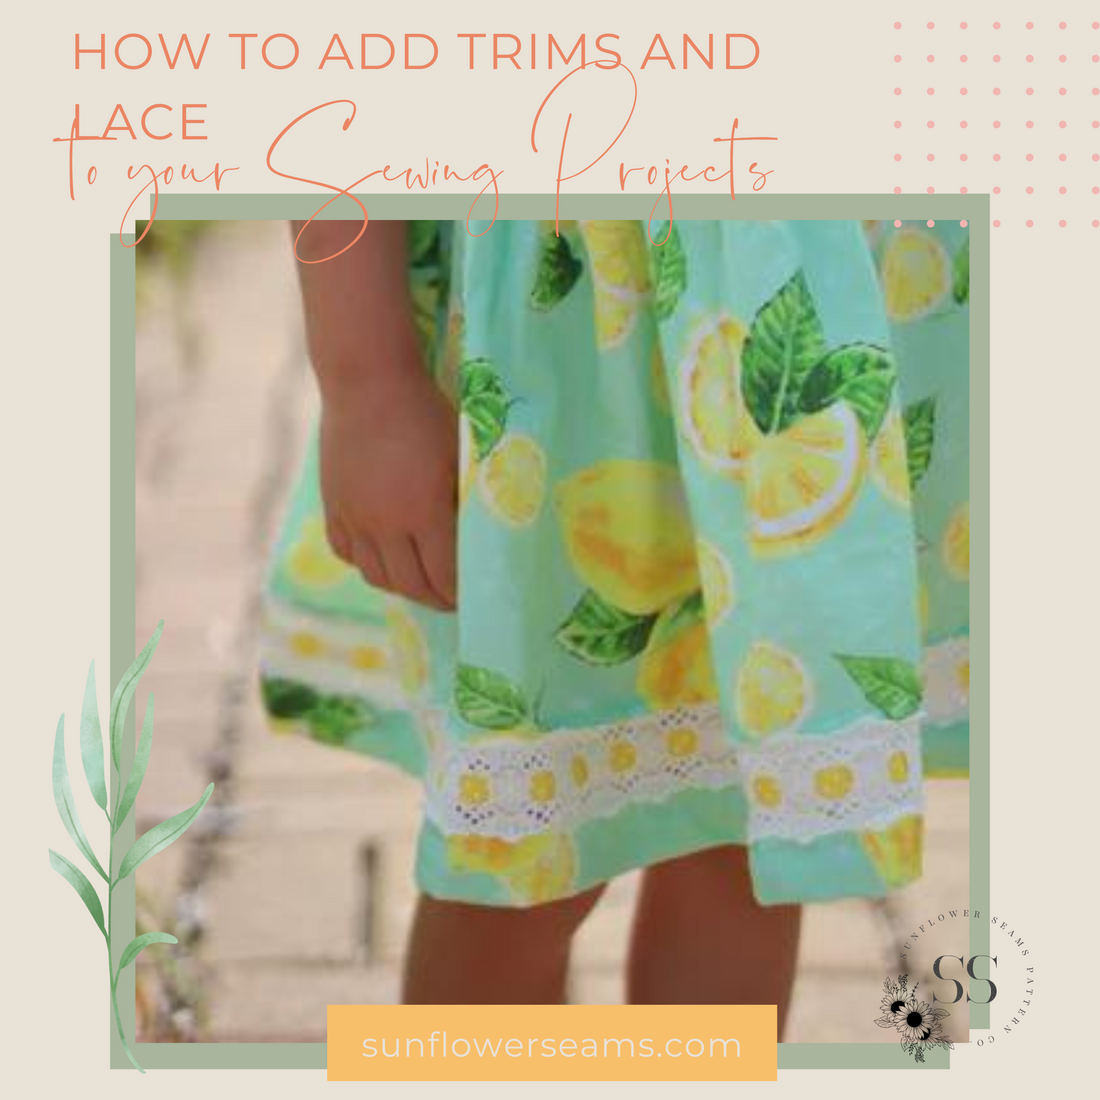
A question I see pop up all the time in sewing groups is how to add trims and lace to their projects. So I thought sharing an easy way to add a lace trim to a skirt would be a great blog post to share. Adding trims and laces are great ways to dress up your dresses and add those special details. But as a beginner sewist a few years ago I remember being intimidated by adding lace and trims to my dresses and lots of trial and error has helped.
I will be showing my method on a skirt but the same can be done on sleeves and bodice pieces as well. I personally find it easier to use wider trim, which is why I'm using the skirt, but it works just the same with narrower trim. You just have less fabric to work to enclose the edges on either side of the insertion.
I find this easier to do when the skirt is still 1 flat piece instead of in the round. Before beginning I sewed the skirt together and finished the seam as desired on just 1 side.
For this blog I used Daisy simple skirt, which has a 1.5 inch hem allowance. I like to take into account the hem allowance when I am determining the height at which to add the trim. I decided to place mine at about 2.5 inches above the raw bottom edge.


Pin the lace in place along the whole bottom edge at the same height, moving the seam gauge along as you go to make sure it was straight. Before stitching it, be sure to check and make sure that the lace matches up at the same height on the side seam on the other side. After pinning it in place, sew down the top and bottom of the lace, top stitching it to the skirt.


You could stop here and let the lace be just top stitched to the skirt, or you can also continue, and have an insertion where it looks like the lace joins 2 pieces of the skirt together. After top stitching the lace on both the top and bottom of the piece of lace, turn the fabric over, working from the wrong side. Cut the fabric down the middle of the two rows of stitches, being careful not to clip the lace. **This is why I find that wider lace is easier.


Once the fabric has been cut all the way down the length, begin pressing the fabric to enclose the raw edge we created. For example, on mine based on the height from the bottom edge I could just iron it down and when I iron up the hem it will enclose that bottom edge.
For the top edge I had a ½ inch to work with so I folded it a ¼ inch and pressed and the fold and pressed it up another ¼ inch, you would use whatever measurements worked for your width of lace. If your hem does not enclose the bottom edge, you will just repeat this process for the bottom as well.


Once these two edges are hemmed, then close the second side seam and finish the skirt as instructed.
Now you have a beautiful lace trimmed skirt, bodice, or sleeve for your creation too! I can’t wait to see them!