Hello friends! It’s Tamar from Tamar Hope Designs and I’m back for part two of the stocking stuffer posts. Last week, I showed you how to make a key fob and a keychain chapstick holder. 
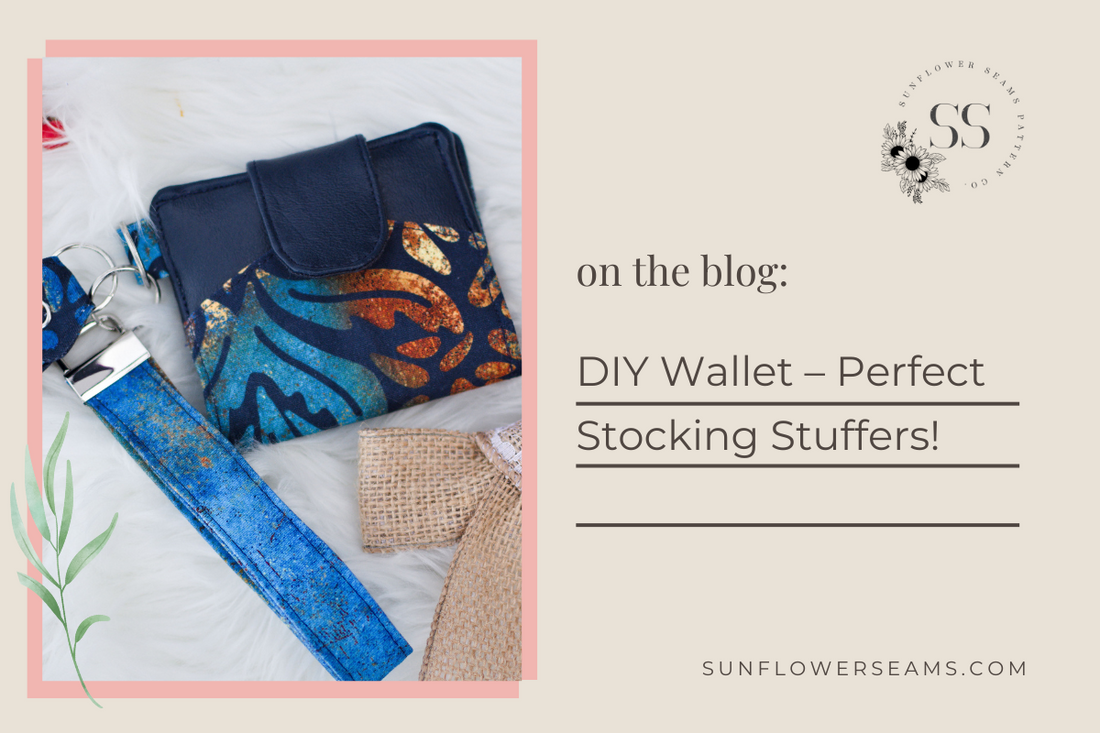
This week, I am going to show you how to make a cute little keychain wallet. 
This is the perfect minimalist gift for anyone who likes to carry around only the essentials. It can be a stand alone gift, or you can combine it with the key fob and the keychain chapstick holder. 
Lets get started!
You will need:
Fabric scraps for the main
Coordinating fabric scraps for the pockets
Vinyl scraps for the accent
Cutting and prepping:
Cut the pattern pieces. If using a light weight cotton fabric, interface all cotton pieces with woven interfacing such as Pellon Shape flex. If using a heavier cotton such as cotton canvas, you can skip this step. 
Iron the decovil light or similar heavy interfacing to the wrong side of the front piece. 
Let’s start sewing:
Fold the diagonal sides back 3/8” wrong sides together. Iron 
Lay the front main on top of the vinyl accent piece, overlapping the sides by 3/8” Topstitch the front main to the vinyl. Tip: Before stitching make sure that the whole front piece measures exactly 8” 
Next we are going to mark our card slot piece. Measure 2 ½” from the bottom and mark. Next mark 4” up from the first mark. Then mark ½” up from the second mark. Then mark 4” up from the third mark, and finally, mark ½” up from the fourth mark. 
Starting from the bottom, fold the fabric at the first line, right sides together and topstitch 
Repeat with the third and fifth lines 
Fold the bottom topstitched line up to meet the second line. 
Fold the third topstitched line up to meet the fourth line. Sew along the sides at 1/4” 
This piece is the completed card slot pocket piece. Baste the unfinished sides to the left side of the inside main piece. 
Now we will work on the snap tab and the D-ring tab. For the snap tab, iron a small piece of interfacing to one end of the wrong side of the tab. Attach the male end of the snap centered ¾” from the curved end of the tab. 
Sew the two tab pieces right sides together along the long and curved edges. 
Turn right side out and topstitch the snap tab. 
For the d-ring tab, fold the fabric lengthwise to find the center. Fold the two long edges to the center line and iron. 
Wrap the tap around the d-ring and baste the raw edges together. 
Next, we will work on the ID window. Fold the pocket piece in half wrong sides together and topstitch along the fold.
Place the clear vinyl behind the ID window. Fold one long edge of the ID window piece ⅜” toward the wrong side over the clear vinyl and topstitch in place.
Topstitch around the ID window, making sure that the clear vinyl remains smooth. 
Place the ID window on top of the pocket piece and baste along the bottom and sides. 
Baste the ID window pocket piece to the right side of the inside main along the raw edges. 
Baste the d-ring ½” in from the right side of the main. Center the snap tap right sides together on the left short side of the main. 
Place the main outer and main inside pieces right sides together. Stitch around the edges leaving a gap for turning. 
Turn and topstitch
Add the female end of the snap to the top of the point on the outside main. Tip: Double check that the snap tab comfortably reaches the snap before fastening the snap to the fabric. Also, make sure you reach inside the pocket with your snap tool. You obviously don’t want the snap to go through your card slot pocket. 
And there you have it. A fun little project that you can gift with joy! Happy stocking stuffing!

Fabric from Cotton and Twirls