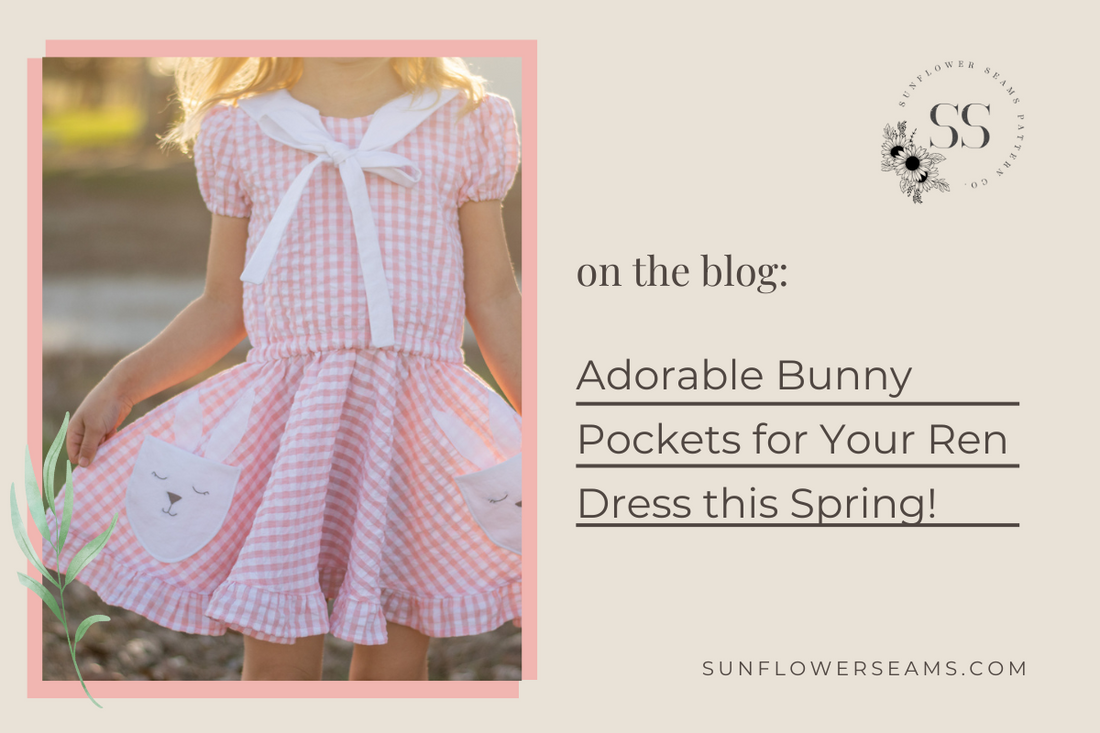
I love to add little touches to give a hand sewn dress some extra character. With spring and Easter right around the corner, these bunny pockets are the perfect addition. I used the Ren pattern with Ren pockets for this tutorial, but you could add Ren pockets to a different dress or even use a different pocket pattern if you want.

1. The first thing I did was trace the pocket and draw on a bunny face with erasable fabric marker. You can draw your own or use the template from Begonia Pattern. I drew half a face on an index card, laid it under the fabric, and traced it and then flipped it over to the other half. Don't forget about the seam allowance. Your finished pocket will be 3/8" smaller on the edges.

2. I used a simple backstitch and satin stitch to embroider the face.

3. You can go ahead and make your bunny ears now too. I like to draw them on paper first to make sure I like them. Also, ensure they fit well within the seam allowance on the skirt. On Ren the top of the skirt has a longer seam allowance to create the elastic casing. I made mine too long the first time and had to redo them.

3. I find it easier to appliqué the ears to the skirt before adding the pockets, although, I would suggest laying the pocket on the skirt while choosing placement for the ears. There are so many techniques and method for appliqué. I used raw edge appliqué, but you can use whatever method you would like. I first drew my ear on double stick fusible web and then cut it out. Then I ironed it onto my fabric and cut the fabric out around the ear. After choosing my placement for the ears, I ironed them onto the skirt. Using a small stitch length, I stitched near the edge of the ear.

4. Then I added my pocket. I overlapped the top of the pocket with the bottom of the ears by 1/2".
5. Finish sewing your garment!

I love that it's only a few extra steps, but adds so much to the dress. I hope you give this a try!
Happy Sewing!!
