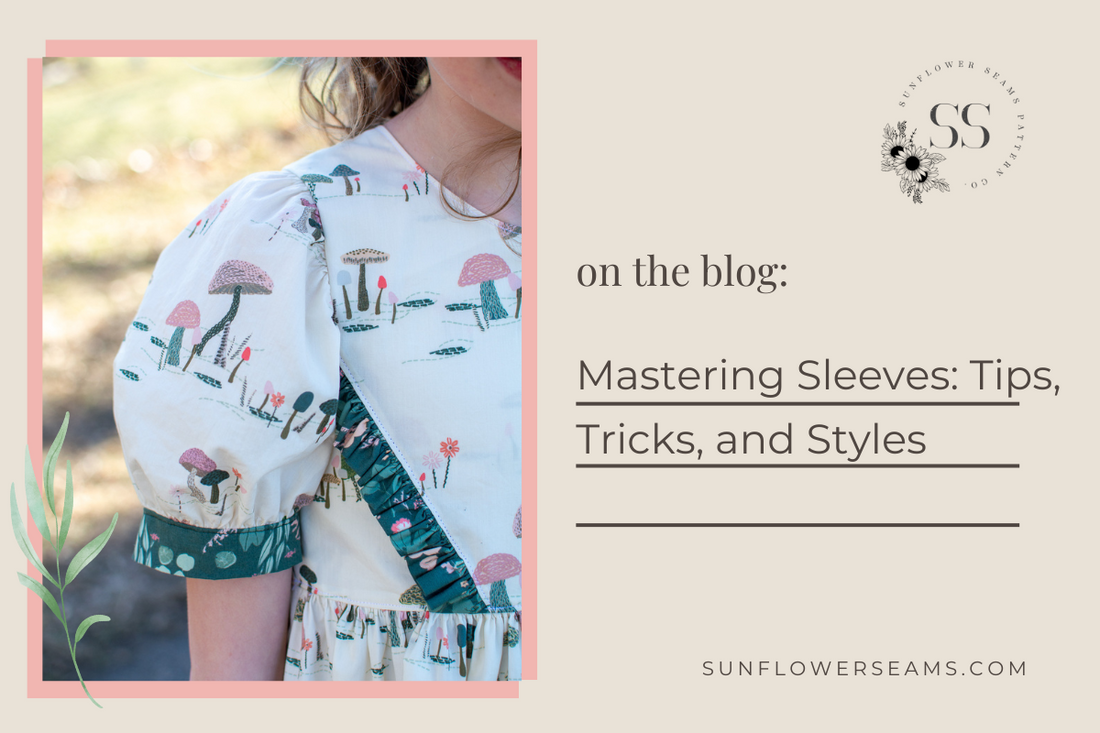
Hello friends! It’s Tamar from Tamar Hope Designs. I’m excited to be back for another sewing lesson! If you missed the first couple lessons, we covered Mastering Seam Allowances in January and Gathering Fabric in February. Today we are going to cover all things sleeves!!!!

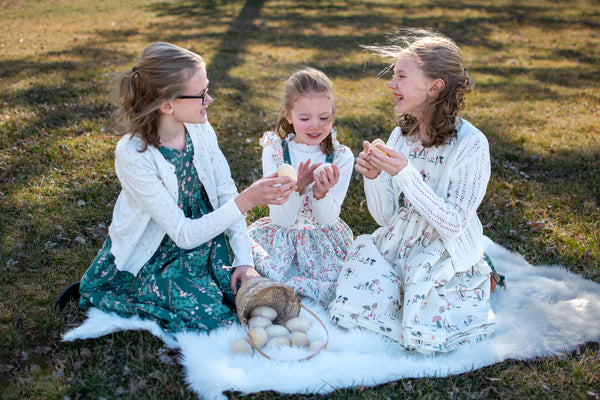
For this lesson, we will be using Daphne, Hydrangea, Cornflower, and Betony. (For a more complete lesson on Daphne, check out lesson 3 over at Tamar Hope Designs.) The fabrics that I am using for this lesson are from the gorgeous Art Gallery Fabrics collection, “All is Well.” I have completely fallen in love with these fabrics!!!! They are so perfect for coordinating Easter dresses!
Anyway, let’s dive into learning tips and tricks for sewing different types of sleeves!
There are so many different types of sleeves and I love that adding different sleeves can totally change the look of a garment. Therefore, I am going to not only give you tips for sewing sleeves, I will also tell you a little bit about sleeve construction, so you can be confident in mixing and matching sleeves from all your Sunflower Seams Patterns!
If you want to mix and match different parts of your patterns, you will have the most success if you stick with one pattern company. Each pattern company develops their own pattern blocks that they use as a starting point in drafting their patterns. So, adding a sleeve from another pattern company who uses a different pattern block may not work as well as using a sleeve from one Sunflower Seams Pattern on another Sunflower Seams Pattern.
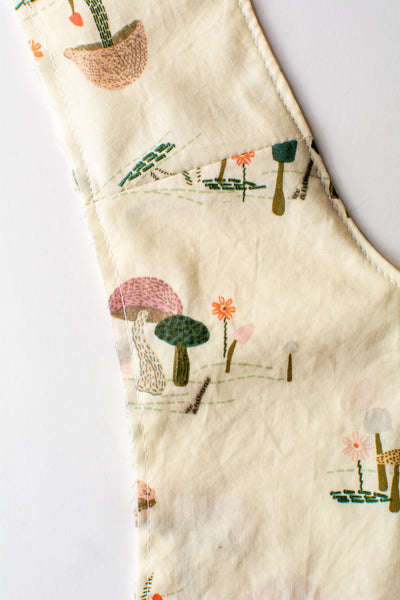
Almost all of the Sunflower Seams woven sleeves are inset sleeves, so in this post I will teach you about a few different types of inset sleeves. For the inset sleeve, the side seam is sewn first and the sleeve is constructed separately from the main garment. The sleeve is then sewn into the armscye (or armhole). This type of sleeve tends to be a bit more fitted than a t-shirt sleeve and sits right at the shoulder.
When sewing an inset sleeve, it is important to realize that the sleeve needs to have ease. The ease is the space that is necessary for your arm to move. This ease means that the sleeve edge is often longer than the armscye edge.
Puffed Sleeve
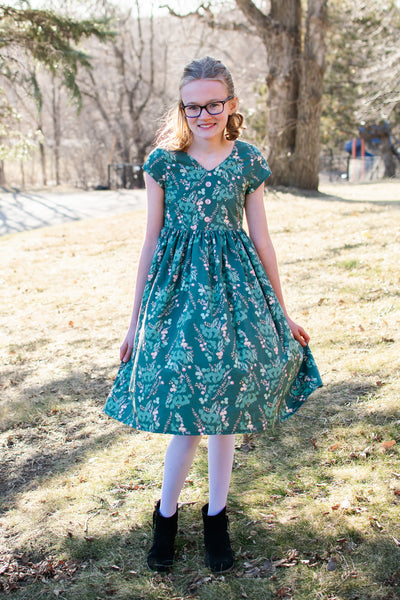
One type of inset sleeve is the puffed sleeve. This sleeve is easy to interchange because the sleeve is simply gathered to the size of the armscye. It can therefore be gathered to fit any pattern. The Hydrangea puff sleeve is so classic and gorgeous.
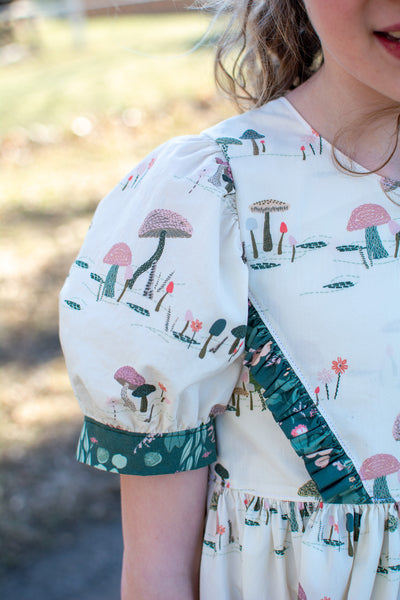
I’m going to use it to give you a few tips and tricks for getting a perfect sleeve every time.
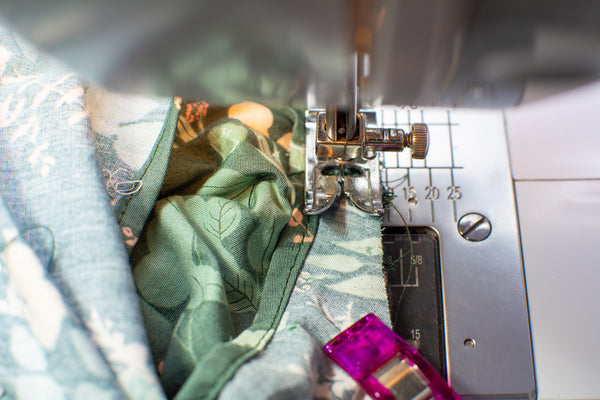
Before I sew a sleeve, I like to baste the main and lining together. I never used to do this, but sometimes my bodice would get a bit wavy because the lining shifted when I was sewing the sleeve and pulled once it was sewn. In order to avoid this shifting, lay your sleeveless bodice flat and clip/pin the edges together.
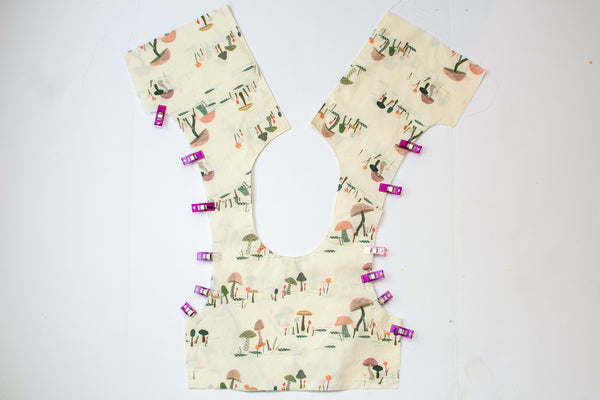
Then baste the edges using a ¼ inch seam allowance.
If you are planning on sewing an inset sleeve, stop sewing one inch before the ends. Then baste the bottom of the armscye after sewing the side seam.

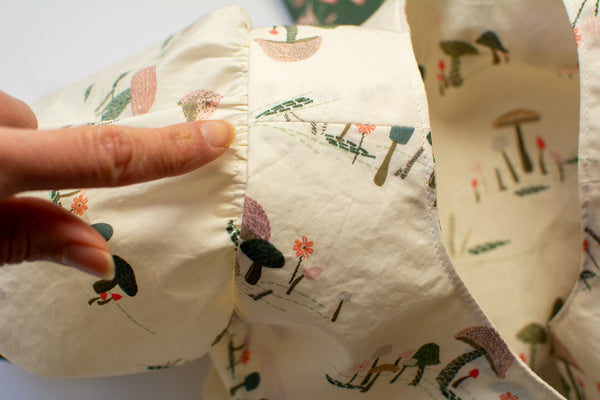
I also like to mark the center of my sleeve by folding it in half and marking the fold.
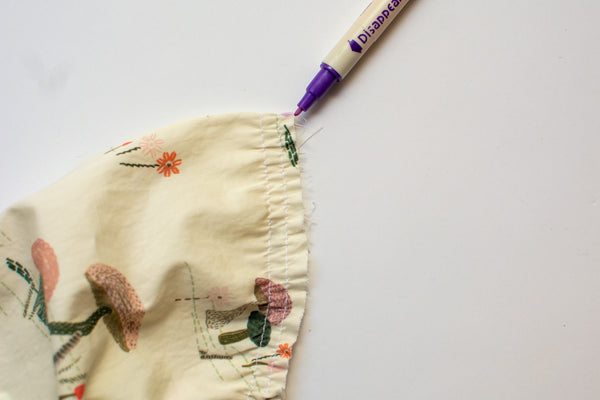
This mark can then be matched to the shoulder seam, making it easier to maintain even gathers on the puffed sleeve.
Next gather the sleeve to fit the armscye.
Clip/pin the center mark on the sleeve to the shoulder seam. Pin/clip the underarm seam to the side seam.
Finish clipping/pinning the sleeve to the armscye.
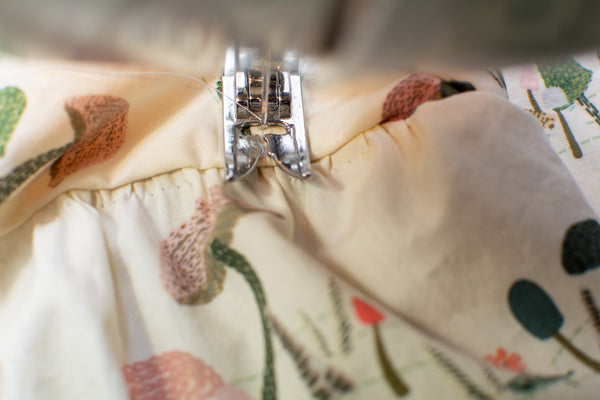
Leave the sleeve inside out and sew on the inside of the sleeve going slowly. Start and stop at the side seam. Make sure the edges remain lined up. Make sure to maintain an even seam allowance.
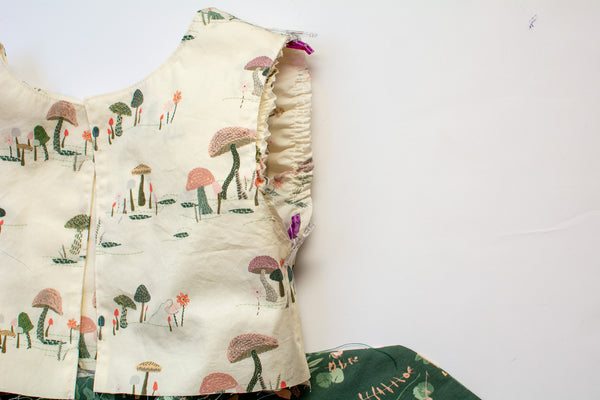
When you are happy with the way the sleeve looks, finish the seam and press the seam toward the bodice. In order to keep the seam toward the bodice, I like to “stitch in the ditch” on the outside edge of the shoulder seam to tack the seam allowance in place. This is where you will stitch.
Stitching in the ditch simply means that your needle goes down exactly into the seam, making your stitches invisible from the outside.
Butterfly Sleeve
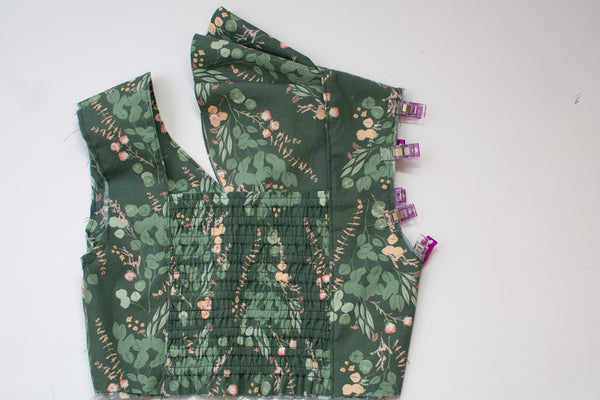
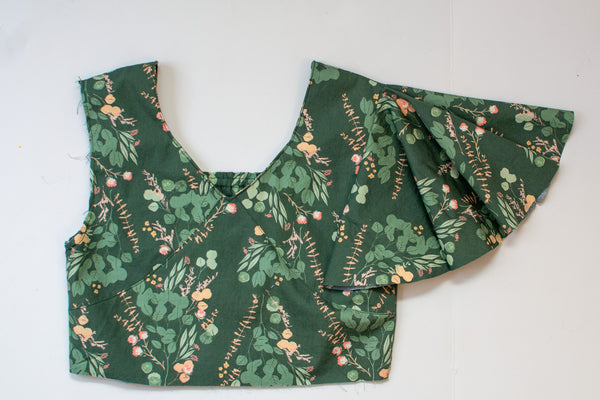
Another type of sleeve is the butterfly sleeve. This type of sleeve has plenty of space for arm movement, so the sleeve itself does not need any ease (the edge doesn’t need to be any longer than the armscye. In fact, it should be exactly the same size. To test whether a butterfly sleeve will fit your pattern, line up the sleeve edge with the armscye edge. If it’s the same, you are golden. If it’s smaller or bigger, cut the hole to the exact size of your armscye. This butterfly sleeve from Betony fits perfectly on Hydrangea!

For the butterfly sleeve, mark the center points by folding it in half and marking the inside raw edge on the folds. Turn the bodice inside out. Match the top center with the shoulder seam and the bottom center with the side seam right sides together. Continue to match the edges and pin/clip in place.
Sew from the inside on the wrong side of the sleeve. Go slowly and keep the edges lined up. Make sure the fabric does not pucker especially near the shoulder seam and side seam.
And there you have an adorable butterfly sleeve that you can add to any bodice or top!
Set In Sleeve
The last type of sleeve that I will talk about today is an inset sleeve without any gathers. This type of sleeve is the most challenging to sew, but it’s completely doable! This type of sleeve needs a more exact amount of ease. It can’t have too much ease otherwise you won’t be able to sew it to the armscye without getting puckers. It also can’t have too little ease otherwise, the wearer won’t be able to move her arms. A good amount of ease for this type of sleeve is 10%. So, the seam line of the sleeve should be approximately 10% longer than the seam line of the armscye.
To check to see if your sleeve will work with your bodice, line up the edges right sides together and walk the sleeve around the armscye. When measuring the ease, you should actually measure the spot where the seam will be, not the edge.
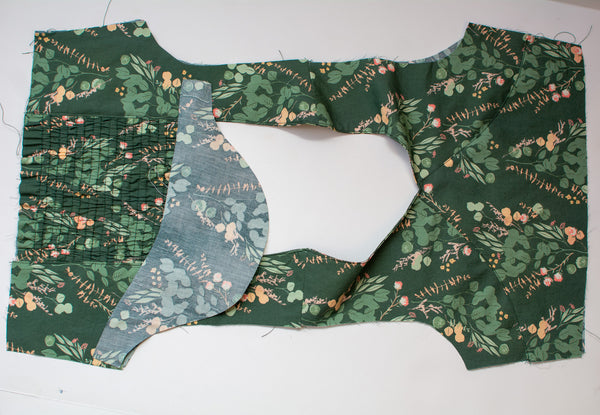
When I measured the Cornflower sleeve with the Daphne bodice, it did not have any ease at all. To add ease to the cap of a sleeve, cut 3 slits across the cap and spread the cap slightly. Add as much ease as you need.
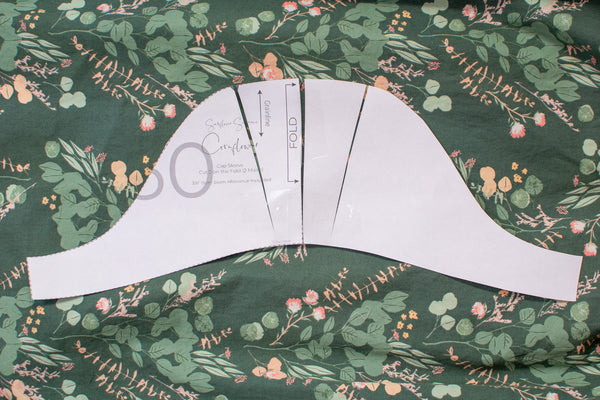
If you need less ease, overlap the cuts slightly to make the sleeve cap smaller. The cap is the only area that needs ease. The cap is generally the area between the notches on the sleeve.
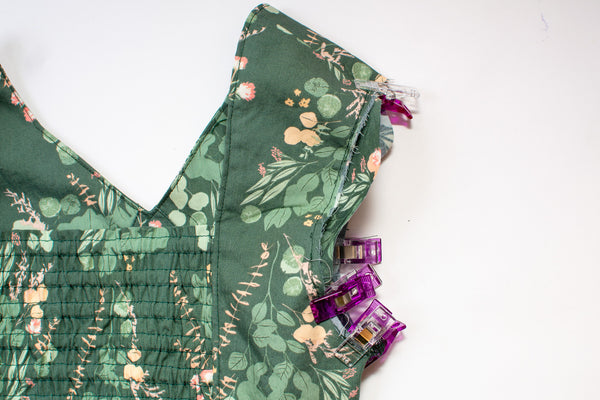
After constructing the sleeve according to the pattern directions, turn the bodice inside out and slide the sleeve inside, right sides together. Match the underarm seam with the side seam. Pin/clip the bottom of the sleeve between the notches and the center of the sleeve to the shoulder seam.
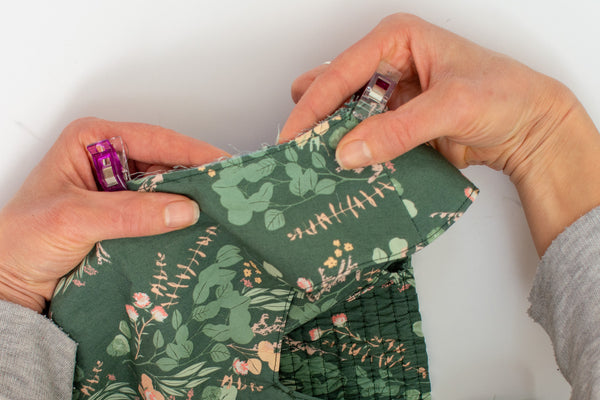
Now, ease the sleeve into the armscye. It helps to curve the sleeve around your hands. The outside of the curve should be the bodice as that part needs to stretch. Pull the bodice with your hands to try to get the edges to line up.
If you basted the main to the lining around the armscye, you may need to cut several of the stitches in this area to allow the fabric to stretch. If you can’t get the bodice to stretch enough to ease the sleeve into it, you can sew two rows of basting stitches within the seam allowance. Pull these threads slightly to get the sleeve to fit. If you do this, make sure you don’t sew any tucks or gathers into the sleeve when attaching it.
Just like the other sleeves, when sewing, start and finish at the side seam and sew on the wrong side of the sleeve.
Go slow and make sure that the edges remain matched up and there are no puckers in your fabric.
It takes a little more practice to master, but an inset sleeve without gathers is lovely. Don’t get me wrong, I love a good puffed sleeve, but I think this cap sleeve adds some maturity to Daphne.
I hope that gives you a little confidence to start mixing and matching sleeves on all those gorgeous Sunflower Seams Patterns that you have. It can be such a fun creative outlet to mash patterns together and come up with new looks. It also allows you to make a dress that suits each of your kids. If one kid doesn’t like the look of a puffed sleeve, just change it to a capped sleeve and she will be one happy camper! If you want to practice interchanging sleeves with any of these patterns mentioned above, from now until the end of April you can get it for 20% off with code Sleeves20!!!
Happy Spring Sewing!!!
